
Oh—hello there. I didn't see you, hiding behind my shower curtain, even though I always check behind my shower curtain before I go to the bathroom because that is where the murderer would hide. Welcome to my gorgeous bathroom. Today I'm going to gut every single pore on my face while you watch. Isn't the natural light in here beautiful?
Six days a week I'm just your average, cool, collected, devastatingly funny skincare user. But every Sunday, under the cover of nightfall, I hole up in my bathroom and go American Psycho on my pores—because my obsession with blackheads is pathological, and I'm from the Midwest. No, I've never read American Psycho, what's it about? Ugh, the main character is a banker? I'm already bored. Can we please keep talking about my skin?
The whole thing is a multi-step exfoliation bacchanal, complete with several steps that are not at all dermatologist-endorsed. I'm telling you this because I care about you—if you're worried about scrubbing your delicate little face into oblivion, than this story is not for you. Go read this story about redness, written by a wimp. The rest of you bravehearts, follow me. This is the Great Pore Deep Clean!
Step 1: Wash your pores.
If you're anything like me after a week of walking around New York City, your face is a sprawling metropolis of bacteria. I like to do a full face cleanse with my wash of choice, Root Science's Bar Cleanser, followed by a targeted clean only on the areas where my pores are the biggest and baddest. That is: bridge of nose, around outside of nose, between eyebrow region, skin right above eyebrows. If you forget these instructions immediately, just imagine a fleur-de-lis. How elegant.
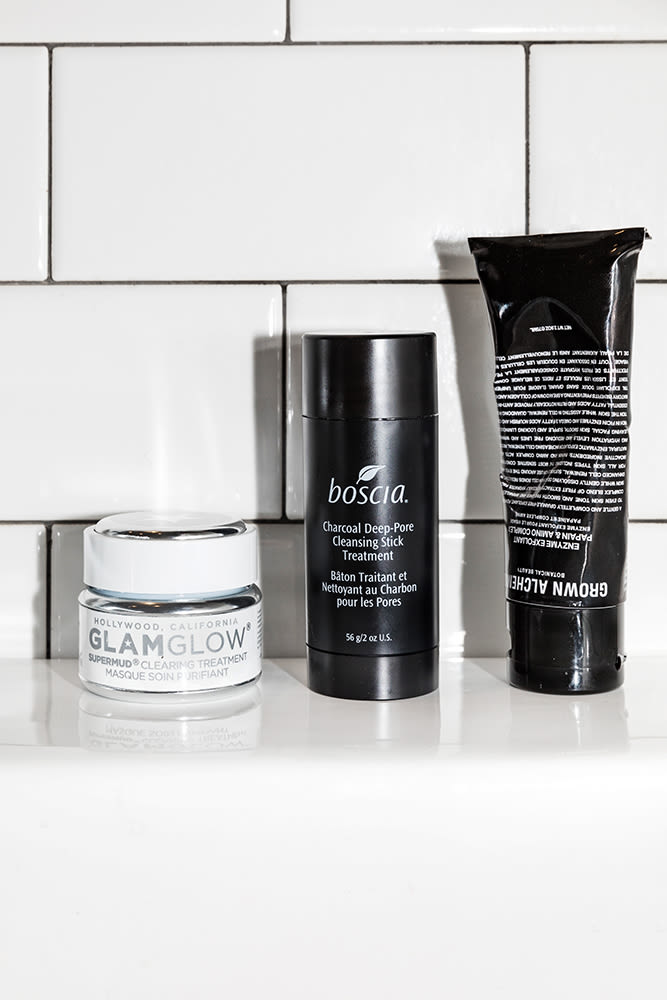
Boscia's Charcoal Deep-Pore Cleansing Stick Treatment is ideal for this, because it's a stick—perfect for drawing things on your face. Then you rub it in a little bit, it emulsifies, and you rinse it off. For a cleanser that lends itself to "deep pores", the composition of Boscia's stick is actually fairly gentle—balancing out glycolic acid with conditioning glycerin and coconut/jojoba oils. That's nice, because from here on out, we're really going to fuck it up.
Step 2: Exfoliate your pores.
Next up is my favorite exfoliator as of late—Grown Alchemist's Enzyme Exfoliant. The hero ingredient is papain, short for papaya proteinase I. Did you know that people use papain to treat parasitic worms and inflammation, and also to chill-proof beer? Useful! Topically, it exfoliates and fortifies—there is some buzz on the internet about adverse reactions when used on the face, but in my experience, it enhances that post-scrub glow factor. Dermatocare.com calls it "magical" and I agree. Again, I'm just focusing on my porous regions. Leave it on for five minutes and then rinse it. We've got more work to do.
Step 3: Mask your pores.
Ever heard of Glamglow's Clearing Treatment? It is the whisper on every oily face across the land. This is a legendary mask for its purging abilities and is not for the faint of heart. Kaolin clay + charcoal + glycolic acid + lactic acid + yes, mandelic acid + holy hell, are you ready for this? SALICYLIC acid. It is a miracle that you have a face at all after using it.
But it's great. I'm just putting it on my nose and cheeks, and a little on a pimple I'm nursing, for 10 minutes and not a minute more. This is your chemical portion of the Great Pore Deep Clean—getting in all of those all-important BHAs that are essential for removing blackheads. The treatment very quickly turns from charcoal to nimbus, and when you're ready, you can rinse it away. Where did your pores go??
Step 4: Evaluate your pores.
Because you might be done! To review, we've rinsed, treated, and peeled the face. That might be enough. If you wish to go further, you cannot legally hold me accountable for what you're about to read.
Step 5: Steam your pores.
Ahhh. It's OK, you can handle this. Boil a pot of water—here, walk over with me to my kitchen. When it starts to boil, lean over the stove and drape a towel over your head to trap the steam. FYI, it is a MYTH that steam "opens your pores," but according to Renée Rouleau, the increased temperature helps soften whatever is inside. Do that for 10 minutes, and don't let the towel touch the stove. I mean, obviously, but I thought I'd include that. Please don't burn down my apartment.
Step 6: Do you have scaling fluid? (Just asking!)
On Monday I had a facial at Silver Mirror on New York's Upper East Side, which included some of the most relaxing and painless extractions of my life. I thought this was because Christine, my facialist, has angel hands—but I think it was in part thanks to scaling fluid, which she applied right beforehand. It was one of the only products she didn't name immediately, which made it sexy and secret. "I'm applying a little something to your nose," she told me. Pig's blood? Molten caramel? I didn't follow up.
...until after. And Christine must've seen the glint in my eyes, because in the same breath as she introduced Dermalogica Scaling Fluid, she told me that it was for professional use only and is not available for me. Whatever. It's on Amazon, but I haven't purchased it. If you've got some, you're either a professional or a liar. Congrats on your esthetics license, or congrats on being a sociopath.
Step 7: Go American Psycho on your pores.
At this point, I'm unsheathing my Tweezerman No Slip Tool, and you're gasping or screaming or fainting. I know how controversial this thing is. But I also don't believe that manual pore extraction is a technique reserved just for pros—that's prohibitive. I believe in doing it at home, but with a light hand. Each step until now has softened and loosened your pore grime so you're ready for this. Use the bigger loop on the Tweezerman and gently run it down the length of your nose. Use the smaller loop for getting in the crevices around the nostrils. Be careful of sebaceous filaments, which are pores that appear clogged but really aren't. They're fine, but if you take a few out, that's OK too.
Some things will come out and some things won't. Don't force anything that doesn't want to leave! Sometimes an eel won't want to leave its eel-home, and that's fine. We all have pores, we're all monsters, it's fine.
Step 8: Sand down your pores.
Grab your Clarke American Sanders Floor Sander—just kidding! Ha! You're done.
Real step 8: Moisturize.
You've earned it. Now get out of my house.
—Brennan Kilbane
Photographed by Tom Newton.
If you've got pores, Brennan's got solutions. Read all about the best pore primers before makeup, the blackhead mask you can make at home, or more skincare stories.