People are always asking me—whenever I step outside, while in line at the airport Cinnabon, over the phone randomly throughout the day—“Brennan, how do you get the pores on your nose so small?” I deflect: “Diet and exercise.” But in reality, rather embarrassingly, my life is governed by hundreds of pore-clarifying gestures and I am constantly looking for new ways to remove gunk from my face holes. The newest thing: a DIY blackhead mask that I made late at my office one night. It was fun and smelled awful.
I’m not totally sure when this recipe made its rounds on the internet—or if it predates the internet, perhaps, as a proto-Bioré for ancient peoples. Whatever the origin, it’s not new and I did not discover it. XoVain recommended it in 2013. Bustle described it as “The DIY Face Mask From Hell” a year later. The internet is polarized on the topic of DIY pore strips. But I’m curious! Or I was, until I tried them.
Guys—DIY pore strips are sensational. I could describe to you the whole experience, from grocery store visit to the lifting of scum from my face, but I decided instead to distill the experience into a few questions. Do they pass the Into The Gloss DIY Beauty Product Rubric? Let’s find out.
Do they work?
Yes!! And in my opinion, they work way better than pore strips. They peel off easy with a little bit of tug, which is extremely satisfying, and they take all of your surface-layer impurities with them. I focused on my nose (where most of my large pores are) and absolutely noticed a difference, plus some payoff on the strip if you're into that. The best thing, though, was how SMOOTH my nose and cheeks felt afterwards. It felt like post-facial skin. That, to me, outweighed the clarifying power.
Are they difficult to make?
Not particularly. The only things you need are milk, gelatin, and a microwave. Maybe you already have these things, but unless you’re my mom or Ina Garten, I doubt you have gelatin sitting in your cupboard—so it requires a trip to the grocery store. Frustrating, but not difficult.
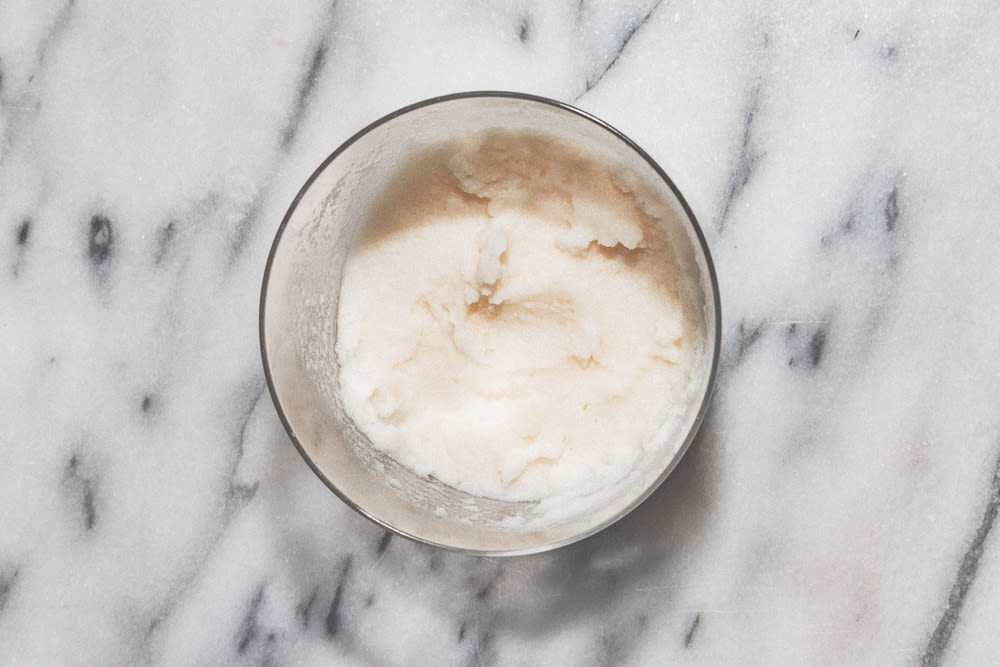
After you’ve got everything, the prep is unbelieveably easy: Mix one tablespoon milk with one tablespoon gelatin in a bowl, stir it up for a minute, zap it in the microwave for 10 seconds, and apply the goop to your face. It should take around 10 minutes to harden into the Hood By Air Spring 2017 runway beauty look, and then it's pretty easy to peel off.
A disclaimer—everything is fine and fun until you stick a bowl of milk in the microwave and nuke it for 10 seconds. The smell is disgusting, like 100 men vomiting in a sauna. It doesn't have a lot of throw, but you will certainly be able to smell it on your face. Not everything in life is champagne and lavender-scented pore strips! Sorry to bum you out.
Is it cheap to do?
So cheap. Gelatin costs $1.50, and you should already have milk at home—if you don’t, can you please go to the grocery store and also get some trash bags because we’re out of those? Bioré strips cost about $10. Savings of 85%!
Can we see an After photo?
Would you DIY again?
There are two circumstances in which I would absolutely DIY pore strip again: 1) At a sleepover with a bunch of your friends who have all lost their sense of smell in the same freak accident, or 2) If my rich, distant, eccentric uncle who was also a gelatin executive were to die and will me tons of the substance he loved. ("He died doing what he loved most—producing gelatin.") DIY pore strips work, and they are cheap, but they're also messy and smell disgusting. Honestly, just spring for some CosRx Blackhead Power Liquid.
You look really good, Brennan. What’s your secret to beauty?
Aw, thanks! Diet and exercise.
—Brennan Kilbane
Photograped by Tom Newton.
Curious about that blackhead removal tool you've seen at the drugstore? Emily Ferber reviews it, over here.

