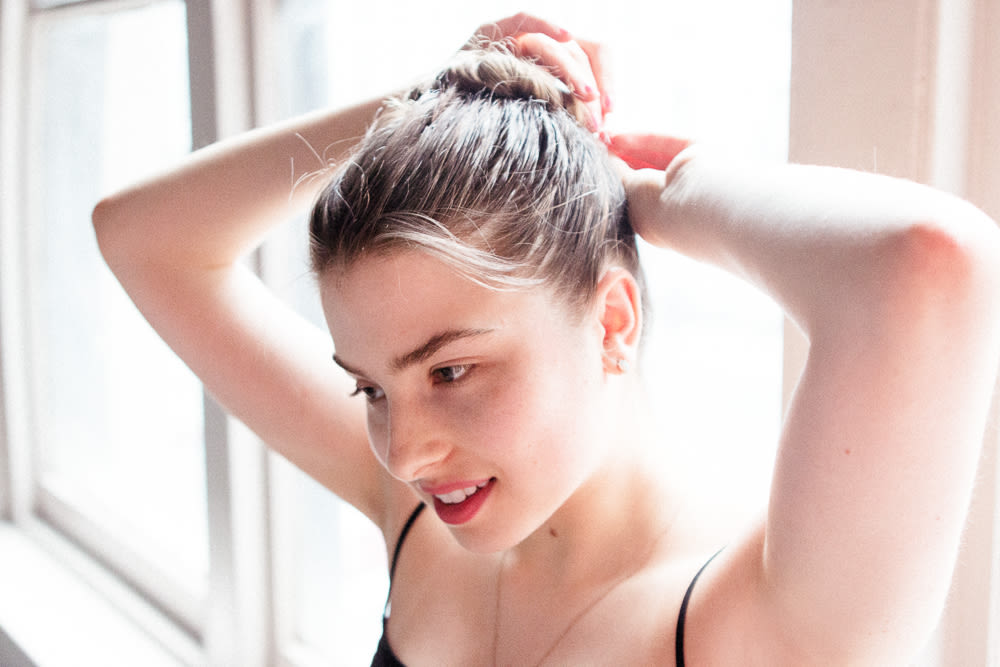
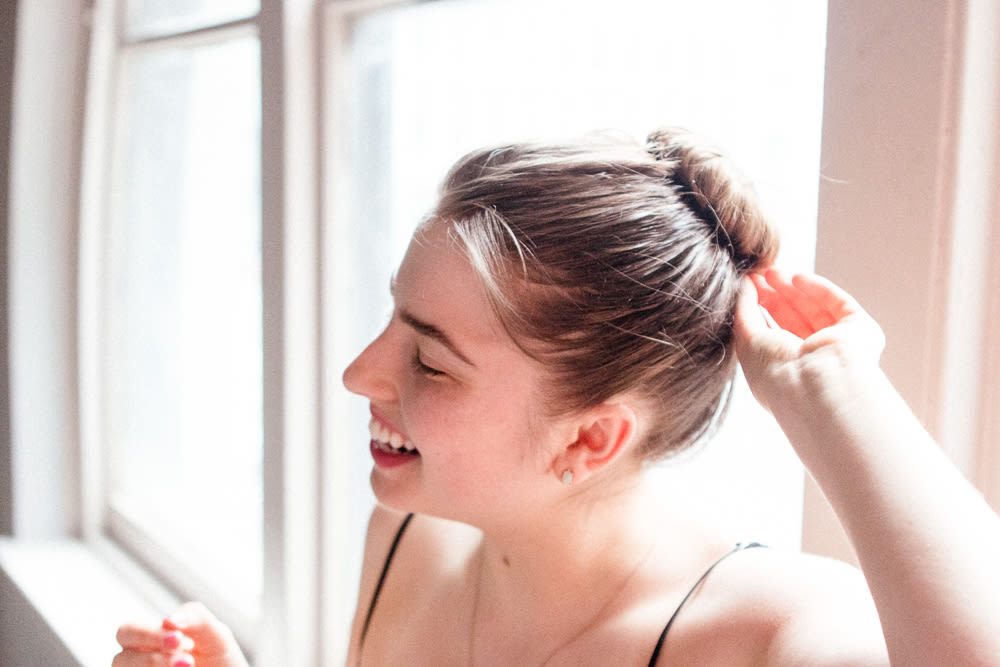
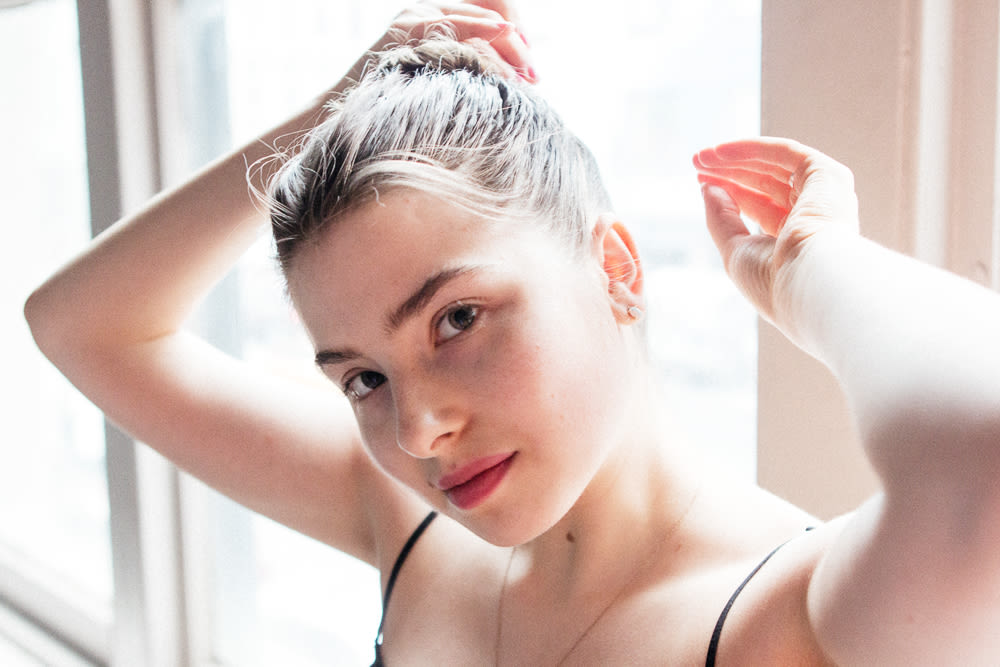
I've spent 75 percent of my life with my hair in a bun. This is thanks in no small part to the ballet classes I started taking when I was 6 years old and occupied most of my time until I was 20.Initially, my dad would do my hair (thanks, Dad! And shoutout to all the ballet dads out there). By age 9 I was doing it myself—picking up little tips along the way from the older girls. We used to all joke that you could tell if a dancer was serious or not by the overall look and shape of their bun. Lots of flashy hair doo-dads and/or a “door knob-looking' bun were no-nos. I was always very serious when it came to dancing, so my bun was similarly serious. By the time I turned 15, I had my method down and enjoyed the morning ritual of twisting, turning, and sculpting my hair so that it was *just * right before heading to class.
A dancer's day is 8 hours—without an evening performance. For a bun that stays put, here's the method that worked for me for so many years:
Step 1: I like to start by spritzing my hair with a little water. If your hair is freshly washed and silky smooth, I’d suggest using a texturizing spray (I used to use hairspray, but Shu Uemura Texture Wave wouldn't hurt) to give it some hold and make it easier to style.
Step 2: Use a comb or brush to pull hair into a ponytail. The perfect height is at the crown of the head. You should be able to see the top of the bun when you’re facing the mirror straight on. This creates a swoop diagonally upwards giving the illusion of a longer neck. Secure with an elastic.
Step 3: Twist the ponytail (either way is fine) into a rope and begin pinning around the elastic until you reach the end of your ponytail. To get a true ballerina bun, u-shaped pins are the way to go—they hold more hair and are easier to use than traditional bobby pins. Tuck loose ends under the bun and use a pin to secure.
If you have very thick hair, I’d suggest the two-piece bun method so you don't end up with the dreaded door knob. To do this, divide the ponytail into two sections. Start the twisting and pinning process with one section and leave the other section hanging down. Once you twist and pin half way around the elastic, start the process with the other section, continuing the twisting and pinning pattern until loose ends have been tucked under and secured. Very cinnamon bun-like and looks pretty with highlighted hair.
Step 4: Finish off with a light- to medium-hold hairspray (depending on if you like “whispies'). But seeing that my buns don't have to last through quite as much these days, I tend to go without the hold at all.
—Eva Alt
Eva Alt photographed by Tom Newton.
Eva also got bangs this summer—and is still sorting out exactly what possessed her to do that. Also of note: Lucy Chadwick rocks a damn fine bun. Still too 'done' for you? Try the undone J.Crew bun instead.


