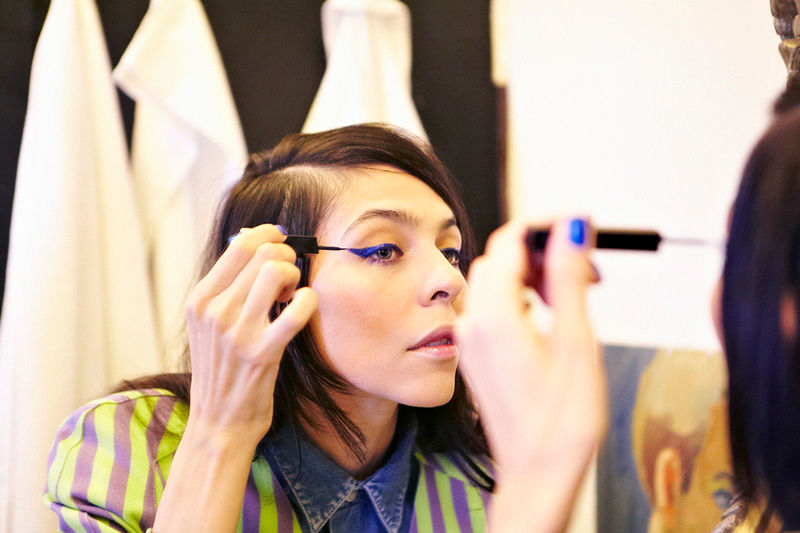
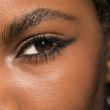
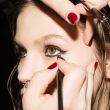
A few weeks ago, ITG Editorial Assistant Claudia called for a much-needed session of the Eyeliner Support Group. Now, unlike Fight Club, the first rule of the Eyeliner Support Group is actually talking about the Eyeliner Support Group. And you did. In droves. In turn, the only responsible thing for us to do with all that information is to share it here, with a little more structure and organization. Though, perhaps unsurprisingly, there was very little consensus—felt vs. gel is currently in a dead heat. Regardless, read on. You might learn something.
TIPS ON TECHNIQUE
Start lining your upper lash line from the middle of your eye and plot out points. After you've got your lashes looking thick with the line in the center, stop and move to the wing (if any). Extend the flick from an invisible line you'll create coming from your lower water line upward on a diagonal. This placement elongates your eye without the weird disconnect. Then finish drawing the rest of your liner from the outside-in. You can decide how thick to make your liner during this step and where to start the wing from. Middle of the eye and straight? Strictly flicked on the corners? The choice is yours.
In auberginedream's words: “1. start in the middle of your eye. use the brush of your liquid eyeliner as a straight edge and draw the line out as far as you want your wing to go. 2. then draw another line upwards from the corner of your eye to meet that first line. 3. now fill it in. 4. now go back and draw a line from the middle corner of your eye to meet up with the rest. 5. BAM! YOUR EYES LOOK SMANGIN'!”
As for where to look—the answer here is down. This will help from tugging at your eye and distorting your natural eye shape. Remember, your eyeliner is not going to look as straight as it does when you have your eyelid stretched-out free of natural creases. “Obviously you might not be able to avoid closing your eye, but keeping your eye open will help you see where the wing will fall with your eyes open naturally (you're not gonna be walking around all day with your eyes closed!)!” kim adds. “This will also help you visualize your eyeliner if you've got fatty eyelids, or if you don't have a crease. What looks perfect on a closed eye might look wonky on an open one.” Consider if you have hooded eyes.
PROS OF THE FELT TIP
One thing everyone can agree on: Stila’s Stay All Day Waterproof Liquid Eye Liner is the be-all, end-all when it comes to felt-tipped liquid eyeliners. A particularly glowing review came from Denisse:
“I just (two days ago) purchased (my mom gifted it to me) the Stila liquid liner and my life has completely changed. Or at least, my eyeliner has. That pen is the greatest thing in the world, and I can get a thin line or a thick(er) cat eye. Personally, never really cared to make them perfect or exact. I just hold down my eye and line away! Perfect is boring anyway, right? (I tell myself that as consolation).”
Another vote for felt, via Jessie Steele: “Felt tip eyeliner is a Godsend. You get the bold color of a liquid, the control of a pencil, without the tugging. I do a bix [sic] sixties Cateye when i do makeup, and the felt marker is perfect. BUT it's also good when i just want a little definition. you can get them fat, thin and in between!”
ALTERNATIVELY, THERE'S GEL
The universal choice of anyone looking for something softer with a more forgiving stroke. Known only by the mysterious “ F!” he/she attested “pencils are easier to screw up, liquid is the best but i hate it for some reason so i settle with gel, although it smudges a lot more. the right brush can make all the difference too. like those pre-bent at the edge ones. [sic]” Go for Bobbi Brown Long-Wear Gel Eyeliner, as a large portion of the community seems crazy about the stuff. “Bobbi brown Gel pot and their angled brush- just GLIDE and then you can even out any tiny bumps with a few gentler strokes. Best liner I've ever done with these two tools!” said Jazz.
THE MOST USER-FRIENDLY LINER
For the beginner, kim said Benefit's They're Real Push Up Liner “is a really nice formula–long-lasting, opaque, very matte—and the applicator is a big help for eyeliner beginners, and allows for softer looking wings.” When in doubt, start thick and take a Q-tip soaked in micellar water to thin and even-out lines to the desired shape.
ADDITIONAL HACKS
Erin and Katherine have a solution for people looking to make that liquid liner work a little bit more their favor. “If you really have a hard time with it, first use a black kohl eyeliner at the base of the lashes only (don't try to draw the wing with it) then use the liquid liner for ultimate staying power. Something about the kohl keeps the liquid liner from going off track. Whew!”
And proving that the tape trick is alive and well is Debra Taylor. Though, instead of stenciling your entire eyeliner up to your tear duct as one is wont to do, she figured out a placement that works better for her. Think of the tape as a guide rather than a formula you absolutely have to stick to. “I use a little piece of tape at the outer corner of my eyes where I want the wings to go, and I am now at approximately 20 Q Tips lol might be my poor eyesight but I think it turns out pretty good [sic]!” she said.
When all else fails kids, resort to eyeliner stickers.
Photos by ITG. For more eyeliner tips, click here.
