
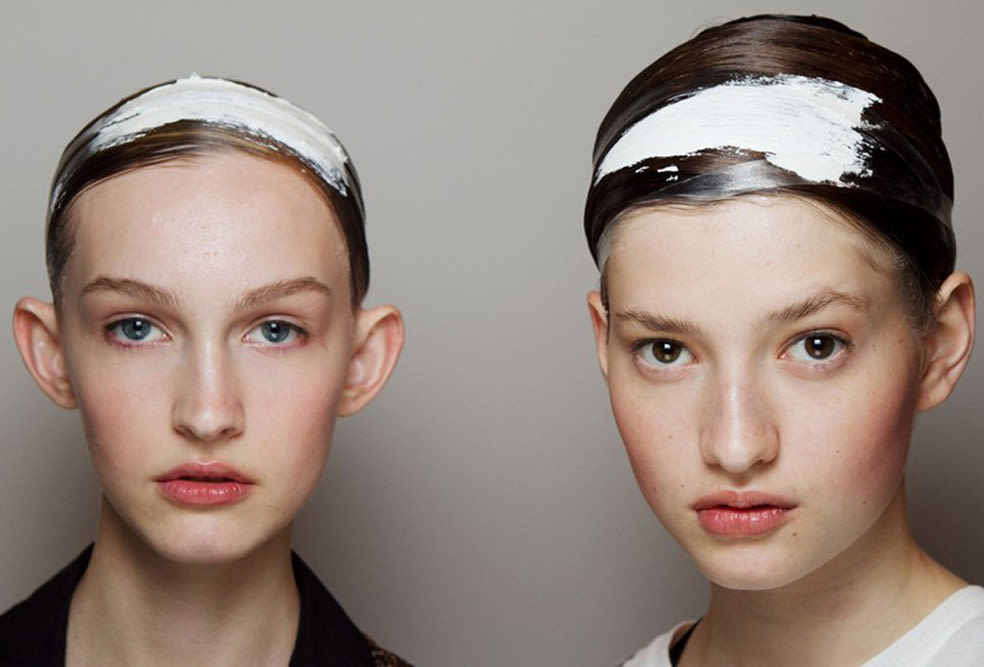


Maybe even more so than the clothes, Fashion Week’s hair and beauty trends incite knee-jerk “I want that” reactions, which do not subside until months later, when the necessary products finally become available and/or weather-appropriate. Well, we’ve never been ones to play by the rules. Sometimes to get a job done, you just have to DIY. Such was the case with the paint-smeared tulle headbands at Louise Goldin — the British upstart and designer behind Kanye's ill-fated fashion collection — artistic, off-kilter accessories that will, sadly, never make their way onto a store shelf near you.
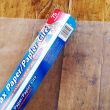
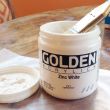
For our version of the very complicated look, you only need a few supplies: wax paper (newspaper does not work; we tried), tulle in the color of your choice (we used white), white acrylic paint, and a one-inch paint brush.
Step 1: Have your materials at the ready. Cut a 1-foot-long piece of wax paper. Still with us? Good. Now cut a strip of tulle that's two feet long and three inches wide, keeping the edges as straight as possible (this can be touched up later so don’t stress!).
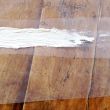
Step 2: Submerge your brush almost completely into a blob of paint, then, with your brush heavily coated, smear a stripe three- to four-inches long (depending on the size of your head) across the piece of tulle, preserving the natural ridges of the brushstroke. Start with a solid, thick coating at one end of the paint stripe (think: Starry Night), letting it thin out to a dry-brush texture at the tail.
.jpg)
Step 3: Wait for the paint to dry. This step should take around six hours. Be patient—we might be good at giving beauty advice, but getting paint out of your hair is not our area of expertise.
Step 4: Gently peel your soon-to-be headband off the wax paper and cut off any ragged edges. You can also trim down the width of your headband if it looks too wide for your delicate crown, or, if necessary, chop off some length at the end so there's not too much excess tulle once tied.
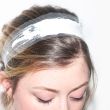
Step 5: Style to your liking. Whether the ends are fashioned into a clean knot below your bun/ponytail, bobby-pinned into hiding, left with tails cascading down your back, or tied up into a bow, the choice is yours.
Step 6: Look cooler than everyone else at all your upcoming holiday extravaganzas.
*Warning: DIY can, at times, veer into crafty territory, i.e. a bit too Etsy to wear with your perfectly put-together holiday party ensemble. Tread with caution.
[1] Photo by Mathea Millman, [4-6] Photos by Elizabeth Brockway.