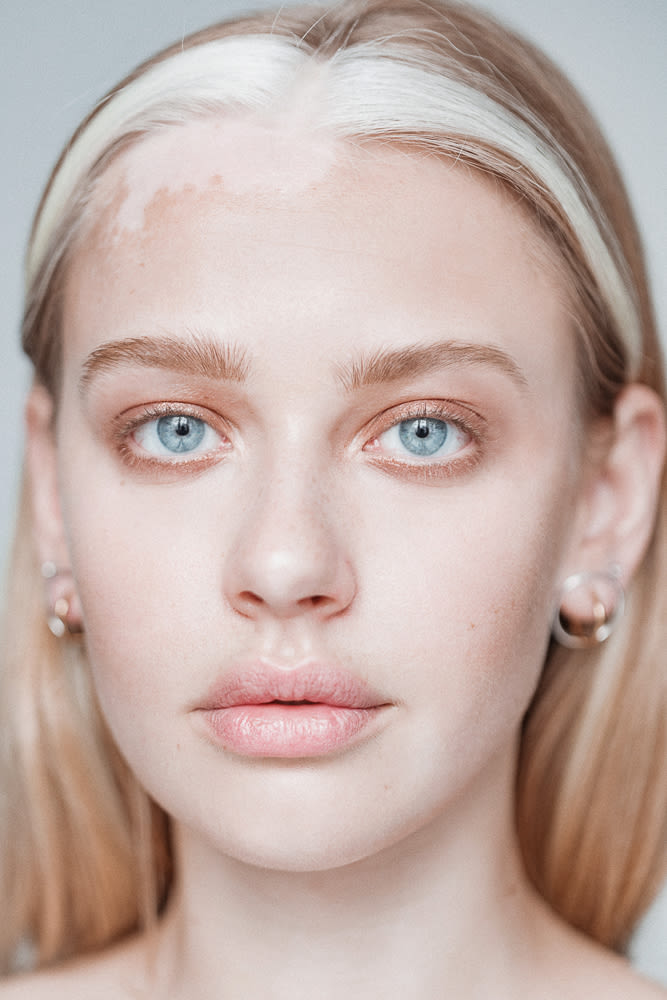


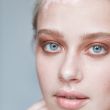
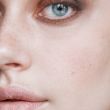


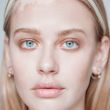

You wouldn't think it, but the first step to any perfect smoky eye is actually skincare. "Your skin has to look good to wear a smoky eye," says makeup artist Nam Vo, which is how we came up with that idea. Sure, it's about the eye—but only because it's also about the whole darn face. "It can be a tricky look, so skin is really important." So this six-step guide to the perfect smoky eye doesn't start with primer; it starts with toner. "I'm using Fresh Rosewater," Nam says. "It doesn't leave any residue on the skin—it just freshens." Then she goes in with eye cream. "I like to use Ole Henriksen Banana Bright Eye Creme, which makes the eye area really dew-y, and helps hold the concealer. Then, I use Vitamin Peptide Serum from Tulura-it smells beautiful, it's all natural, and no one's ever allergic to it. The skin drinks it up."
To further prep before she starts the eyes, Nam uses Clé de Peau Radiant Fluid Foundation. "I hate to tell you guys...this foundation is really expensive, but if you can afford it, it's worth it," she tells ITG. "For me, foundation is the thing to splurge on. Then, I use Charlotte Tilbury Flawless Filter in 6 Dark to define the cheekbones. It's kind of like a bronzer-slash-softening-situation. It'll make you really golden and warm, but being that it's such a fluid liquid, it just blends in really well. It looks like a stripe at first, but then I do a little cardio-beat-down and blend really fast—you just get that honey warmth. Then I use Laura Mercier Flawless Fusion Concealer—I like this because it's super moist and dense—the eye area's tricky, and it's everyone's number one problem. I'm using a Beautyblender in the smaller shape, which really helps to push in concealer."
Got that? Skin first. Now, for the eye itself (Nam used specific products, but feel free to sub in with what ever colors and tools you've got—it's the steps and technique that matter):

Right click this to enlarge—a handy guide!
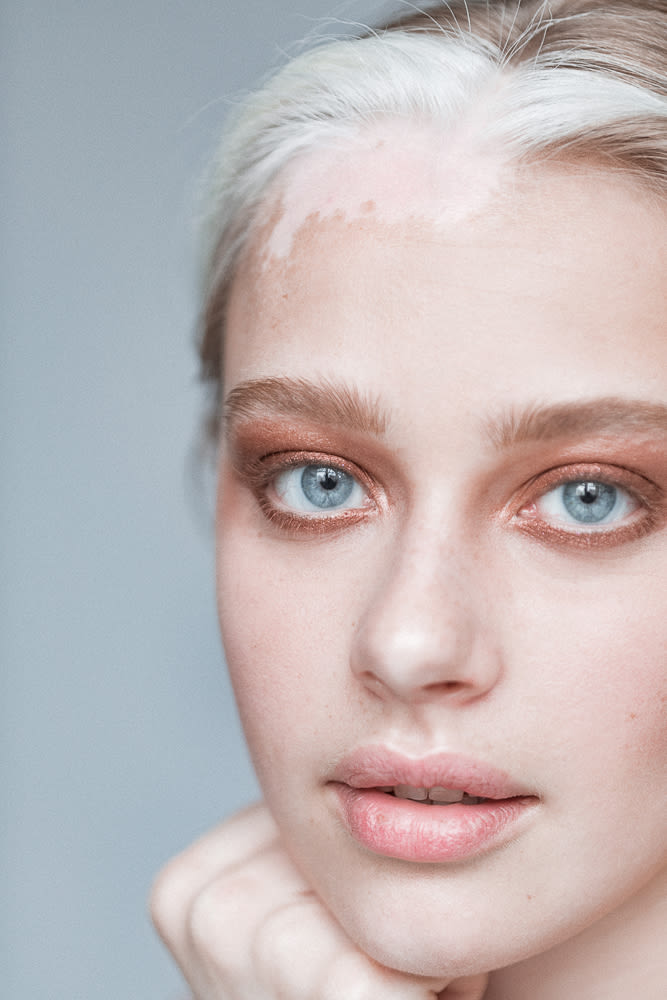
Step 1: The Base
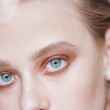
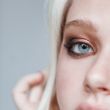
"The first color is Colourpop in Deep Dive and I'm going to take it almost all the way up to the brow. Priming the lid with a cream shadow that's really dense will help grab all the other powder colors. This is a golden bronze, which will add warmth to the smoke. And you basically can't mess this up. Use your finger, it's so easy. Apply it more densely on the lid and buff out as you work your way up. I also apply the color along the bottom of her eye using a pencil-shaped brush—I just follow the natural curve of the eye."
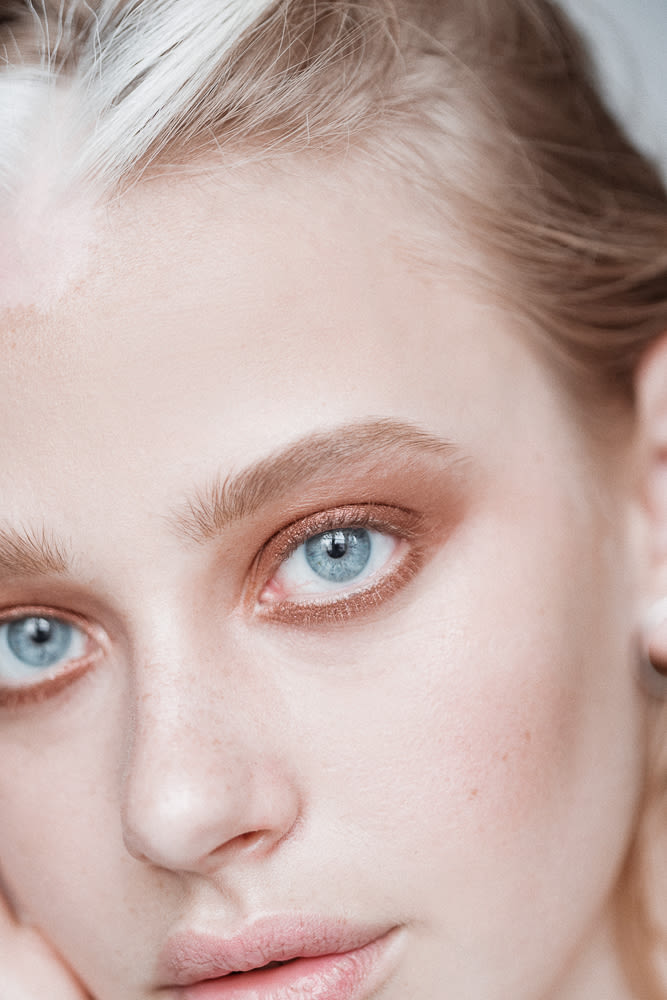
Step 2: Shimmer + Crease
"Now that I have the base going, I'm going to go in with a shimmering eyeshadow that's a similar color, but even more bold. It's like a coppery-bronze. I'm using the Kat Von D Shade + Light Eye Contour Palette. Because the cream is already there, it grabs the color beautifully. I just pat it in across the lash line, and pull it up—but only to the crease, because I want the lid to be opaque and dense with color. Then, I'm going in with a matte, chocolate-y brown from the Kat Von D palette, called Sytry. I follow the natural curve of her eyeball, just placing the color in the crease. The same color gets smudged into the lower lash line using a slanted brush. Then I soften the lines—when in doubt, buff it out. If it's getting a little too smudgy-messy at this point, I like to go back in with the concealer. It shouldn't be perfect—almost like you had sexy time last night and fell asleep in your makeup. That slept-in look-it works! You just don't want it falling all over the place."
Step 3: "Bake"
"So now, I'm going to buff a little bit of this Givenchy Loose Powder under the eyes and on the tops of the cheekbones, because shit's about to get smoky. Basically, it goes wherever I put concealer—it's going to help keep me from having to do more color correction, and it's kind of like baking."
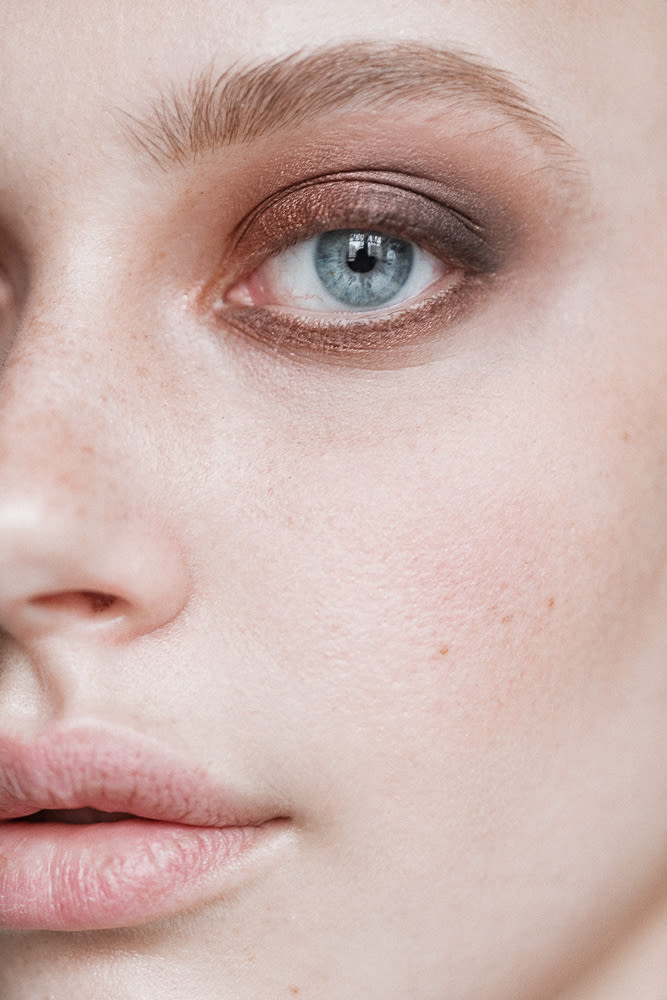
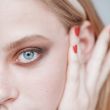
Step 4: Line + Lash
"Then, I go in with a jet-black matte. This Marc Jacobs Highliner Gel Eye Crayon in Blacquer is my favorite black eyeliner. This shit does not come off. I rarely line the inner eye rim with color, but if we're going for a smoke show, then I go for it. I go inside the water rim, but also smudge it along the lash line, top and bottom. I do one layer, then go back to make it darker—kind of smudging it in with the pencil. Damn, that looks good! I do a little darker towards the corners, and then go back with a little black eyeshadow on a brush to soften and smudge those lines. I use Lancôme Grandiose Mascara on the top and bottom lashes to finish it off."
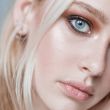
Step 5: Highlight All Over
"As a final touch, I use the Marc Jacobs Glow Stick with a small detail brush in the corner of the eye. This lights up the corner and makes it look starlit—it gives it another dimension. I'll layer the Ultraglow in Fiji from Kylie Cosmetics, which is the bomb, on top, and just push it right into the corner. I use the same combination to highlight the rest of the face—using two gives the face more dimension."
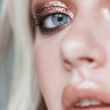
Step 6: Bonus Glitter!
"But nothing happens until I add the pigment, honey!" Nam says. You can use any glitter pigment, like Mac, or Lemonhead. Just press it on the center of the lid with your finger. There you have it.
—as told to ITG
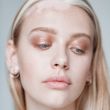
Tia Jonsson photographed by Tom Newton. Makeup by Nam Vo.


