There's something about the act of painting nails that inspires the sharing of secrets. Take Elle Woods and Paulette. Their frequent appointments taught the world the bend and snap. Or, Karen Smith: Her confession “My nail beds suck' surely provided that additional push Cady Heron needed to share “I have really bad breath in the morning.” It's the proverbial topcoat that seals friendships.
That being said, I'm not particularly adept at painting my own nails, getting manicures done, or maintaining any sort of polish job for more than two days. Pick your reason: I'm impatient, lack dexterity, have a nasty habit of chewing my nails until the polish makes its way onto my teeth...It's my lot in life. I've accepted it.
So an at-home gel manicure kit is probably time consuming, difficult, and definitely not for me, right?
Weirdly, no. While the process at home is multi-step and very involved, the final product is nearly perfect. The Red Carpet Manicure Gel Polish Starter Kit costs roughly the same price as one salon gel manicure. It comes with a portable plug-in LED light reminiscent of a spacecraft, giant stapler, or weird flat iron. If that sounds unappealing, bonus: it’s easy to store so you don't have to look at it for too long. The process below:
Step 1 : Use Purify, a pre- and post-application cleaner. My nail bed becomes dry, white, striated like the Bonneville Salt Flats. I now understand how Karen Smith must feel.
Step 2 : Apply Prep, clear varnish that evaporates immediately. Repeat a few dozen times for novelty.
Step 3 : Apply Structure, a thick, tacky substance that looks like super glue and smells vaguely of hydrogen peroxide and salt and vinegar chips. (Should have eaten before starting this process.)
Step 4 : “Cure nails'—a technique I thought reserved for salmon or bacon. In this instance, means placing nails beneath LED light for one minute. They glow phosphorescently like unidentified substances under black light in Room Raiders. Can’t stop thinking about bagels.
Step 5 : Paint nails! Usually the most trying part of regular nail painting, with gel nails, the curing process and the Structure coat help with even color application. A caveat: Make sure to remove any polish from skin immediately.
Step 6 : Put under LED light for two minutes.
Step 7 : Second coat (repeat step 5 and 6).
Step 8 : Ruin step 8 because I’ve been absentmindedly texted and accidentally read the wrong portion of directions. I dip my nails in Purify, which ruins the sheen of the red polish. Realizing my error, I amend and apply Brilliance, a Teflon of top coats that gives nails their recognizable gelly sheen. (Crisis averted.) Cure nails another two minutes.
Step 9 : Now use Purify to remove tackiness. Apply cuticle oil.
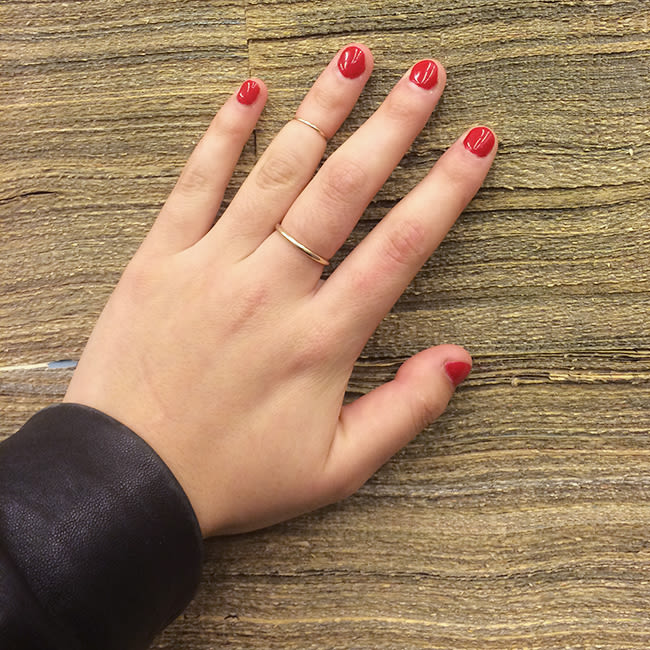
The result: nails shiny and smooth as marbles. No prints or smudges to be seen. They’re also immediately dry so I can finally eat a bagel. My only complaint: You must be extra careful when applying Brilliance and remove it from skin immediately. I did not do this and after pulling my fingers back from the LED light, my entire fingertip was encased in shellac. However, this provided some satisfactory chipping that fell away in plastic chunks (the rest of the manicure was not harmed in this process and has now lasted 2x longer than any other manicure I’ve ever had).
—Alexis Cheung
Photographed by Tom Newton.


