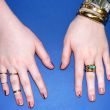
I have been trying to get nails to look as cool as this (sans cigarette, obviously) since I first saw the photo published on Jak & Jil three years ago. The trick to a proper metallic manicure? Minx. But to college-age me, this was an art store opportunity. Long story short, several packs of silver leaf, and about five hours of my time later, the final product resembled nothing even remotely similar to my inspiration. But since I love anything that sparkles, and since I'm a bit of a DIY aficionado (really, anything can be done while power-watching Netflix), I continued to experiment with silver, gold, and copper leaf, which I found are just delicate, slightly misunderstood art store materials in desperate need of proper beauty application. I, meanwhile, am in need of recommendations for when I finish the BBC's Sherlock.
Gold Leaf
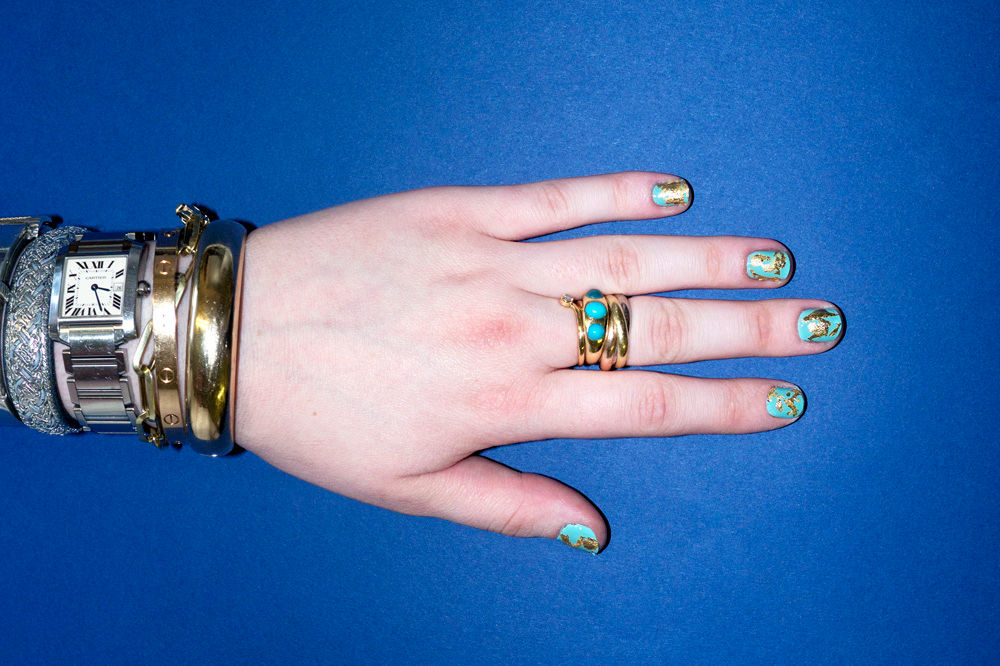
I opted to embrace the intentionally messy look, using speckled robin eggs as a jumping-off point (gilded speckles). Post-nail-prep (cuticle care, nail filing and shaping, hand washing, base coat, etc.), I painted on a thin layer of Mischo’s Jackie. Since metallic leaf is exceptionally fragile, sticks to almost anything, and tears apart with even a heavy exhale, it’s important to work carefully, precisely, and in stages. I suggest precutting squares for each finger so as to avoid scraping polish off while trying to use scissors. I then painted a second coat on one finger and waited about 30 seconds until it reached the not-quite-wet, not-quite-dry stage. Next, I rubbed a precut gold leaf square between two fingers to break it up into flakes, and pressed the pieces into my slightly tacky polish. I then repeated the process on nine more nails, and covered with a top coat.
Silver Leaf
Since silver is a little quieter, I think it’s a better choice for full-coverage than gold leaf. But instead of covering the entire nail, an easier tactic is going for half, or even 1/3 of the nail. Following the same first steps as above (proper nail care, base coat, and a single coat of your color of choice—in my case, Jin Soon’s perfect Cool Blue), I handled the silver leaf very carefully to ensure a smooth finish. After painting a single nail with a thin second coat and, again, waiting about 30 seconds for it to become semi-dry, I dipped a Q-tip in water and used that to pick up my precut piece of silver, placed it about half way up my nail, and smoothed it out with the wet cotton swab. I recommend letting a bit of extra leaf hang off the tip of the nail to wrap down over the edge to help protect against chipping. Cover with a heavier topcoat—I like Jin Soon’s—and let dry while you finish whatever episode of Law & Order: SVU you’re on.
Cooper Leaf
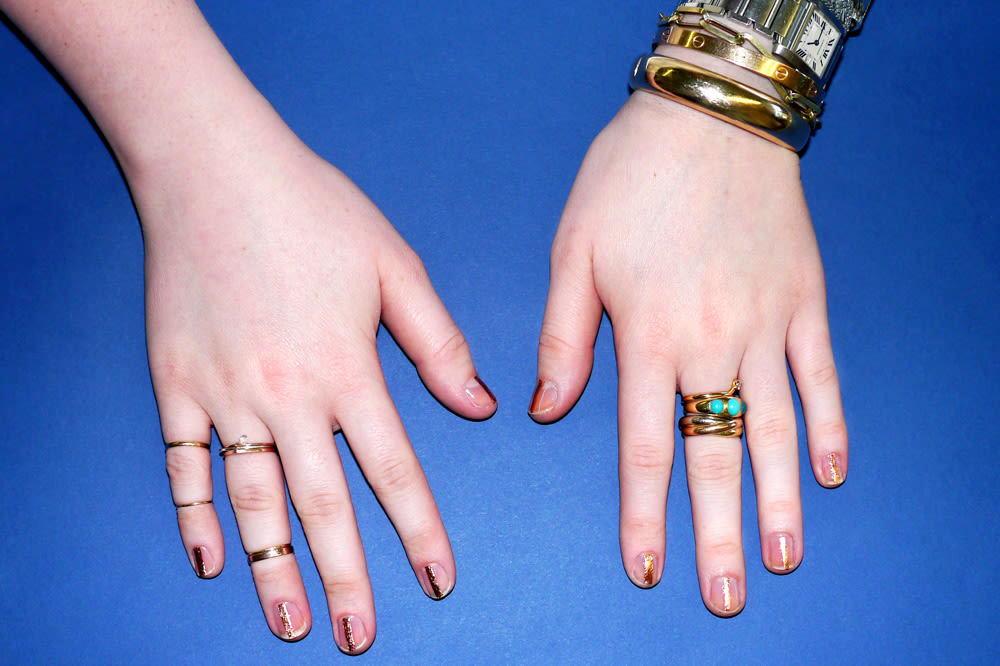
This is my favorite and, as luck would have it, the least labor intensive look. Since seeing the nails at the ICB by Prabal Gurung Spring 2014 show last fall, I’ve been obsessed with a minimalist metallic stripe down the center of the nail, and all you need are a trusty base coat, top coat, copper leaf, and a pair of scissors. First, I precut thin strips of the copper (go thinner than you’d expect—nails are deceptively tiny). Then I painted a single nail with the base coat, blew on it for about 10 seconds, and pressed the metallic strip into the still-drying polish. The copper leaf sticks to its backing paper much more than the gold or silver, so don’t be afraid to really press. After about 30 seconds of letting the clear coat and leaf bond, lift the backing paper off your nail, and there you have it—a stripe! Add a top coat to finish.
Full disclosure: no matter how organized you are, you're going to make a bit of a mess. Don’t kill me. Happy manicuring!
P.S. For DIY-foil-polish removal, instead of rubbing at your nails with a cotton ball soaked in remover, leave a thin piece of cotton soaked with acetone on top of each nail for about 20 seconds. The leaf should lift right off.
—Elizabeth Brockway
Photos by Courtney Brunson.
