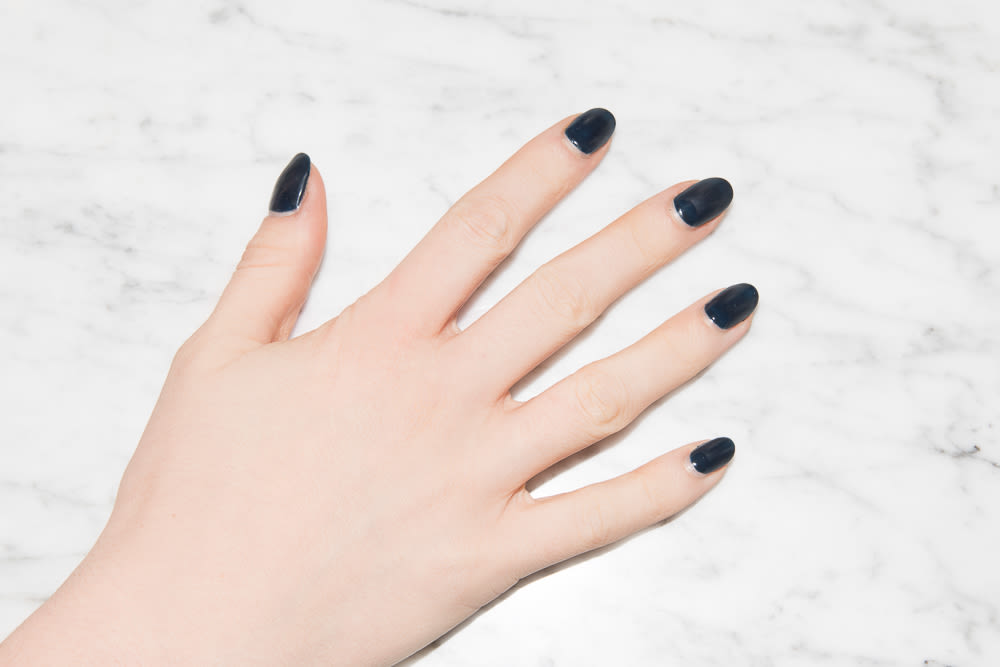


So you got a gel manicure. It was great! Never have you maintained good-looking, growing nails for two-plus weeks without so much as an impulse filing session. But now you want it gone—and you'd rather not visit the salon again (unless maybe if they offer free Prosecco). The good news is you can do it yourself, at home, with stuff you already own. Here's how:
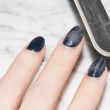
Get a gritty nail file. Nothing gentle—almost sand-papery. Start to buff off the first shiny layer of polish so that the nail looks matte and a little sandy. (Remember that there are several layers of gel between your file and your actual nail, so don’t be afraid of scraping off your nail—that’s not going to happen.) Once your manicure has its first layer sanded off, you actually might want to keep it around for a day or two—very deconstructed, very Derelict-chic. Anyone?
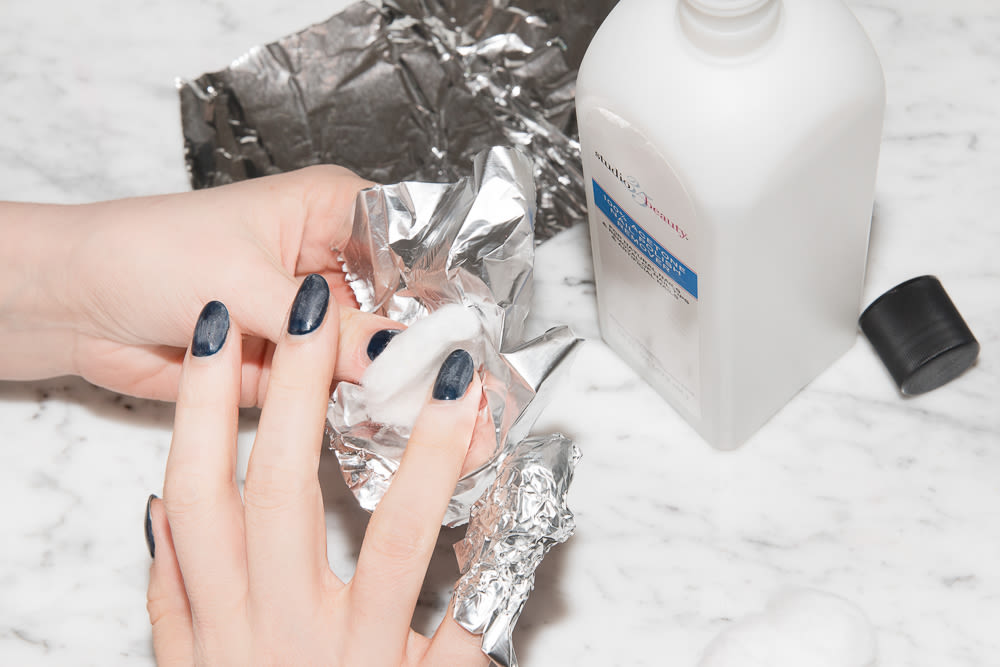
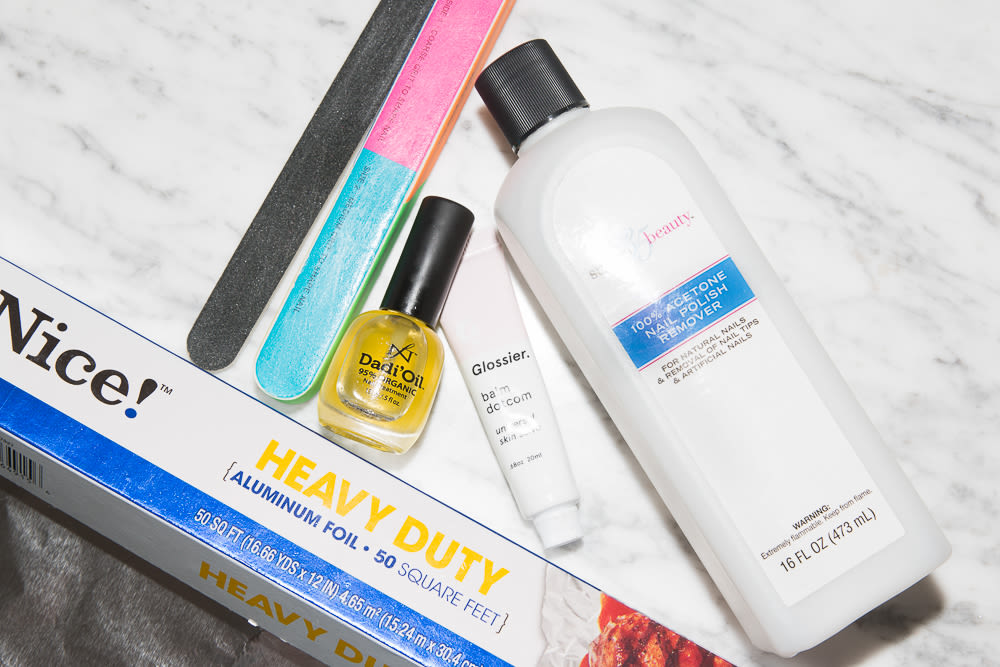
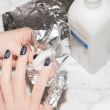
For those who want to move ahead with the process, get out your 100 percent pure acetone, cotton rounds, and aluminum foil. No, this isn’t a student production of Breaking Bad, but it wouldn’t be a bad idea to do this in a well-ventilated area.
Douse a cotton round in acetone—and I mean douse. The rounds are best because they don’t absorb too much acetone. I’ve tried this removal method with cotton balls, and it doesn’t seem to go as speedily. But if all you’ve got are cotton balls, it’ll work. It just might take longer.
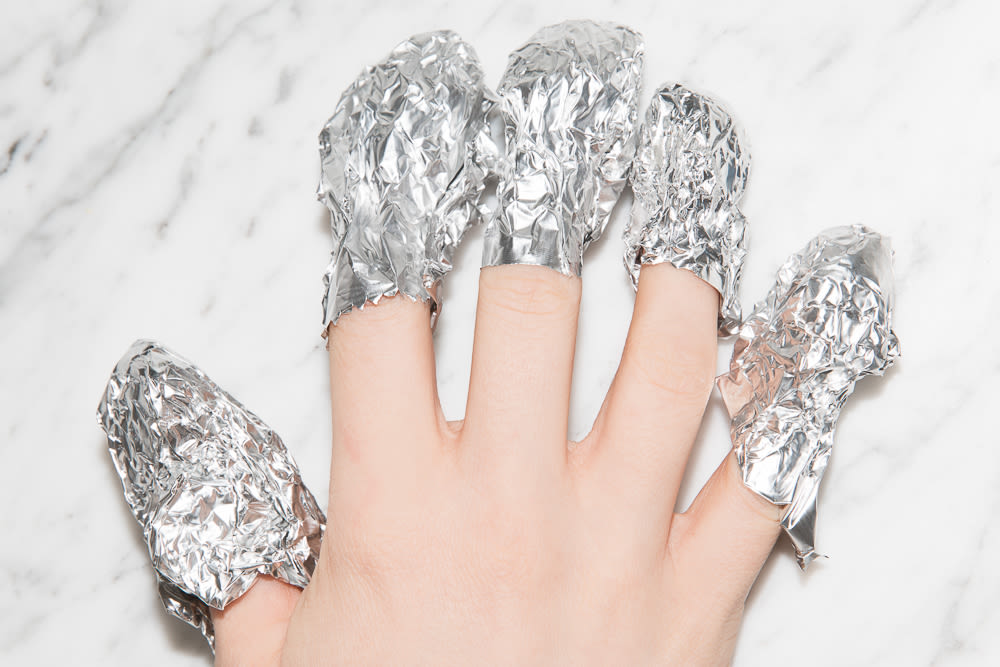
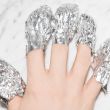
Place the cotton round squarely on your fingernail. You can put a balm over your cuticles for a little protection if you want. Wrap that finger and pad about as tight as you can in aluminum foil (the foil relaxes a lot, so the tighter you can get it, the better). Do that to a whole hand. If you’re super dexterous, do it to both hands at once. If not (and you’re like me), just do one at a time.
Perhaps here’s a good place to mention: this is an ugly process. Please don’t mistake the polish flakes for flakes of your actual nail. That’s not going to happen. Stay calm and soak on.
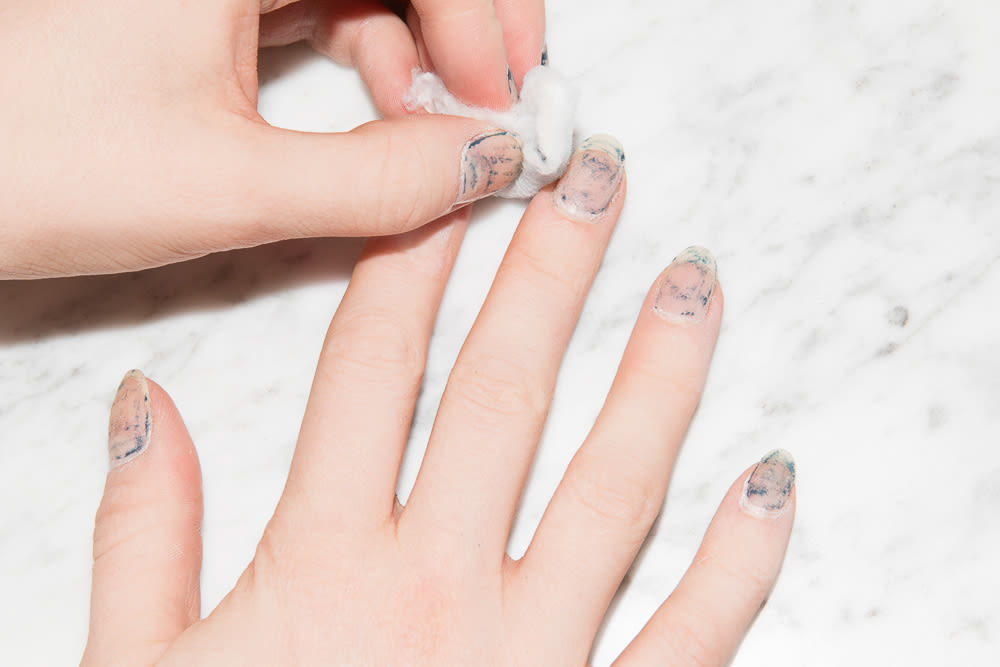
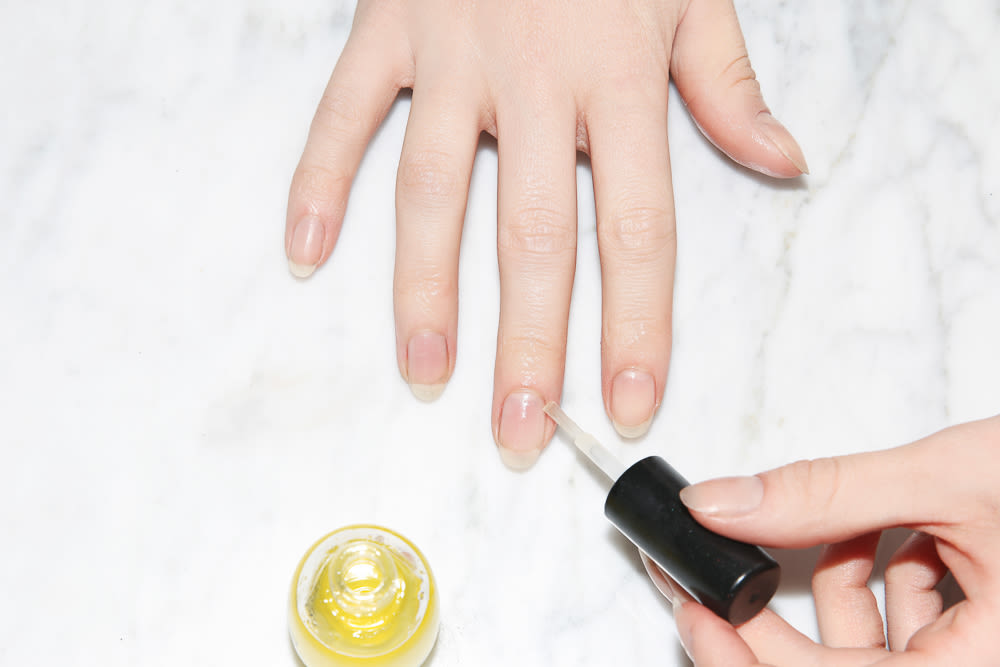
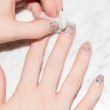
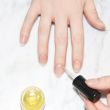
After about 30 minutes, check to see how much you’re flaking. Some polish will flake right off. Others might require a little encouragement—I use my thumbnail, and it’s great. Push the polish off your nailbed horizontally and gently, and don’t dig in on stubborn spots—just douse another round in acetone and rub a little. Your nail is going to look dry and destroyed, but it’s really an illusion created by the residual polish and acetone. After a round of nourishing cuticle oil, your nails will be gleaming and healthy.
Now, to quote the Bard of our time, maybe if you’re reading this it’s too late—you likely already have a gel manicure you want to get off, and it’s too late to talk about initial pre-mani prep. (Just like one of those very unhelpful “how to get rid of a hangover” articles that starts with—and is almost solely comprised of—“Well, maybe you shouldn’t get so drunk, you know?” And you’re sitting there dying like, why did anyone ever bother writing this?) But it is worth mentioning for next time anyway: If you want to protect your nail (and actually make it stronger and better post-gel), you need a pre-gel treatment known by the very Ian Fleming name of IBX. It strengthens the nail all while the gel atop is on. So, it's really like doing your nails a favor every time you get a manicure. Ask for it at your friendly neighborhood salon.
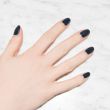
And if you remember one thing from this, please for your sake and your nails, don't peel the gel off. It's so tempting. It's occasionally satisfying, but it also can take off layers of your natural nail in the process. “I compare nails to hair a lot,” says Julie Kandalec, creative director at Paintbox, the salon where I got the initial mani you see in the post. “If your hair is damaged and you color your hair yourself, then it won’t look so great. If you have virgin hair and you color it yourself, then it’s fine. Same thing with gel nails. If you’re trying to take gel off a damaged nail then you’re going to have trouble with it yourself and you should let a professional do it. If you have healthy nails and you do it at home, it’s fine,” So there you have it. How to end a gel manicure the safe, at-home way. Try and report back please.
—Trace Barnhill
Photographed by Tom Newton.
More nails: a handy guide to giving yourself a better manicure. Or, just try a good polish—here are 14 shades of nude to get you started.
More at-home beauty (you can do it!): the DIY Brazilian wax, the proper facial cleansing technique, and how to best use your makeup brushes.