


Sometimes you don’t want to shell out a salon-grade price for a few swipes of sheer pink Essie. But you can’t argue with the results—the professionals do it better. So here’s the best of both worlds: four top-tier manicurists share their own tips and tricks for a better DIY manicure.
Deborah Lippmann, Madeline Poole, Jin Soon, and Alicia Torello all weighed in—between these women’s skills and clients, you’ve got half the Oscar and Grammy red carpet polished and lacquered up and a few budding product empires thrown in, too. And they don’t fall back on of that “you should only let a professional do this' kind of talk, which can be so discouraging and frustrating at the salon (or auto body shop, or operating table). Sometimes you want to take a crack at it yourself.
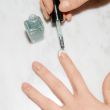
PREP
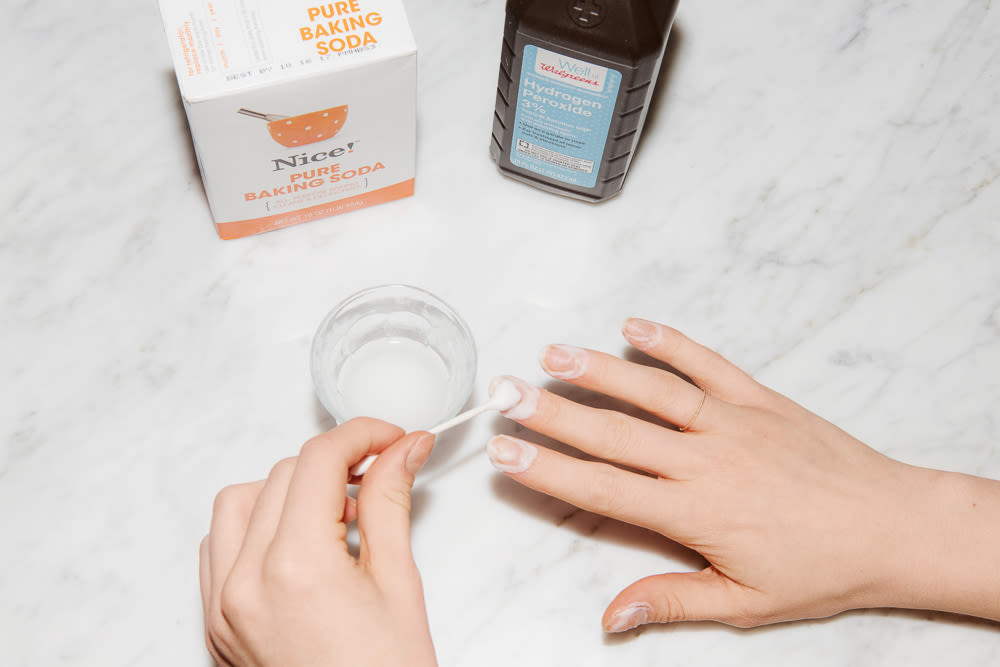
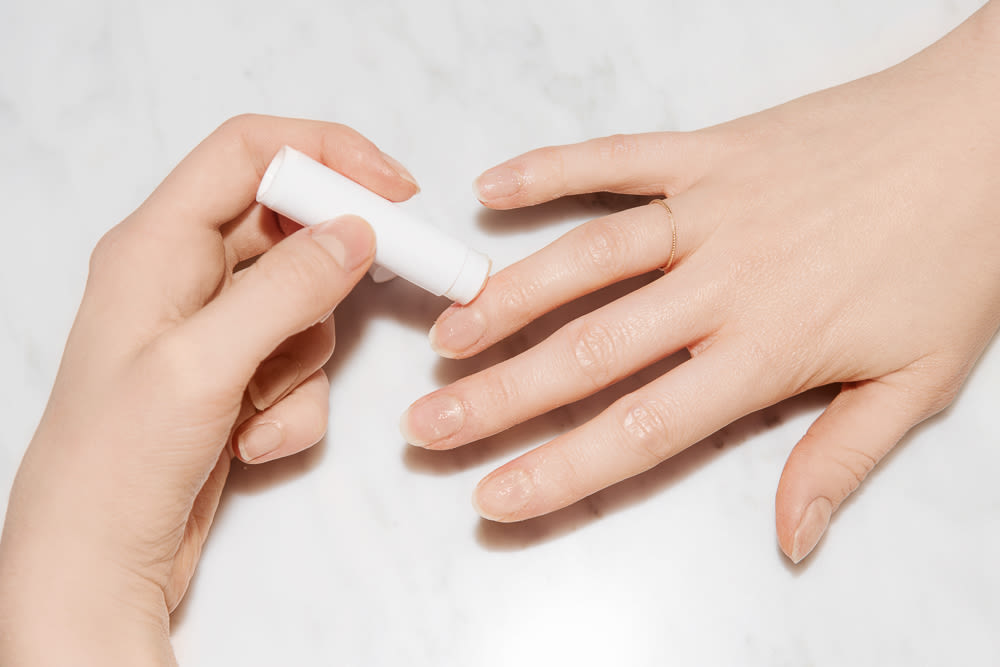
If you want to whiten up a dull nail, Alicia recommends a DIY scrub: “Mix two tablespoons of baking soda with one tablespoon of 3% hydrogen peroxide in a small bowl to make a paste. If the mixture is a bit watery, gradually add some more baking soda. Use a Q-tip and coat your fingernails with the paste—don’t forget to also put some under the tips of your nails. Let it stay for three minutes before rinsing.” For those who prefer a tool, Jin Soon has an alternative: “Use a gel formula bleach pen when your nails are yellow from nail polish stains, but be sure to moisturize your nails afterward.” You can DIY that moisturizer, too. Alicia mixes her own cuticle oil, a blend of jojoba, chamomile and a tiny bit of sea buckthorn, applied with dropper to avoid contamination. And, of course, there’s the case for using what’s, ahem, on hand. Jin Soon says, “I use lip balm to moisturize my cuticles and nails when I don't have any cuticle cream or oil available.”
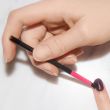
ART
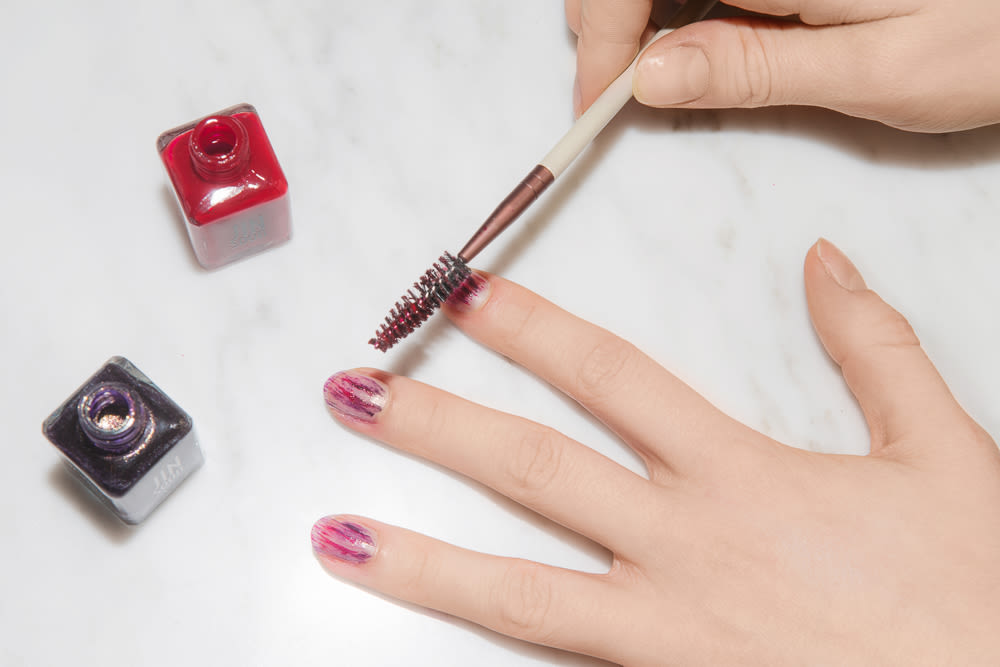
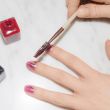
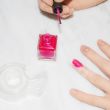
Any attempt at nail art will require a few tools. Jin Soon recommends applying nail polish with an old mascara brush for a Jackson Pollock-inspired abstract art effect. Get a few spoolies going in a few different colors and see where the muse takes you. For a more precise touch, use a dotting tool, with which you can paint on an infinite variation of flowers, polka dots, and squiggles. Jin Soon suggests also doing 'negative nail art' by scraping designs into freshly applied nail polish. Don’t have a dotting tool? Madeline Poole makes her own: “Take a sewing pin—the kind with the ball on the end—and stick it into the end of a pencil eraser.” Ta-DA.
If in the midst of this artistic flurry, try scotch tape for some boundaries (this technique may feel familiar…). Deborah Lippmann raves about it for keeping paint from running off into outlying skin and cuticle. Her instructions: “Line the tape all around the nails prior to application. It helps to keep the brush on the nail plate. If you miss, the polish will wind up on the tape, which you can easily peel off afterwards.” Like bumpers in a bowling alley.
Alicia has a similar guiding principle, except her guides go on the nail. She recommends using hole-punch reinforcements, those doughnut stickers of high school days—cut in half, they’re perfect guides for a French tip or a moon. (You know you’ve still got a bunch in a drawer somewhere.) Stick them on a bare nail or on a fully-dried basecoat when you’re ready to add an accent and paint along the lines. For applique beyond that, Alicia recommends striping tape from eBay or Amazon for perfect, tiny lines.
FINISH
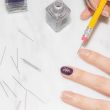
Cleaning up the nail afterward is just as important as the painting before. Alicia uses an angled eyebrow brush dipped in acetone for precision cleanup. It’s helpful to have micro Q-tips nearby too. If you’re not good with that kind of precision, Deborah Lippmann’s got an easy fix: “If you find polish has wandered off your nail plate upon application and [you] don’t feel confident using cotton and acetone to fix these flaws—often the case with shaky hands!—simply wrap cotton around a stick, dip it in hot water, lightly press it onto the area, and let it soak in. It should magically come off.” But if by this time you are well into the Netflixing-and-drying stage of the manicure and only realize there’s polish everywhere later, it’s still OK. She assures: “If you notice that you or your manicurist went outside the lines with lacquer, don’t worry about it! Wait until you take your first shower and it should easily peel off this area. Nail polish is not meant to adhere to the skin so it should lift right off.” Gotta love the easy ones.
Photographed by Tom Newton.