


The best advice Josie Maran ever gave me (also the only advice, since we talked for 10 minutes) is that the fastest way to contour is just applying bronzer down the side of your face in a '3' shape. They were wise words, and true—if you've only got 30 seconds and a pan of brown shadow, swiping a couple half-moon shapes from forehead to cheekbone and then cheek to jawline really does work.
But there's more to contouring than bronzer tips from model-cum-argan-magnates... There are also highlighter tips! And foundation tips! And even blush tips! I like my makeup suggestions the same way I like my men—uncomplicated and fast—so here are my “I'm too lazy for multi-step tutorials' tricks:
1. Keep it light in the center, and shadowy at the edges
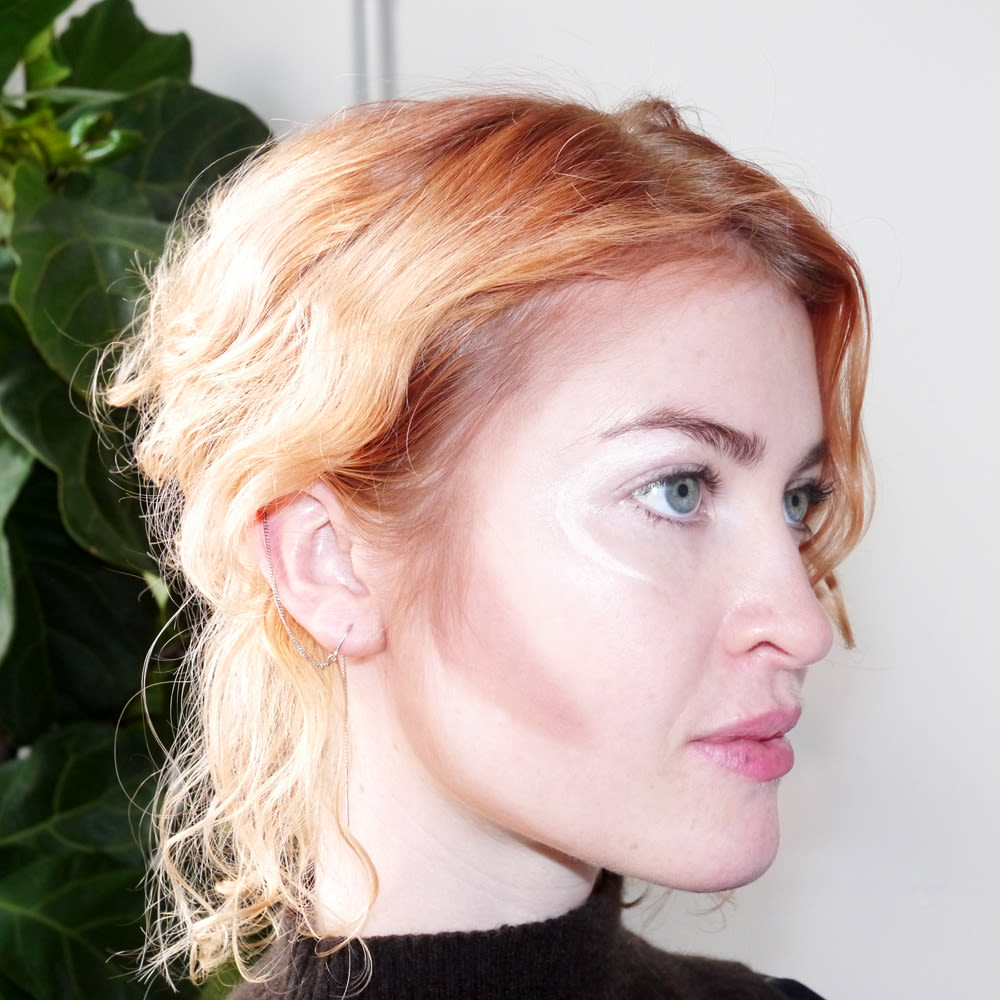
You know how in Zoolander, Derek sucks in his cheeks and makes his eyes all big when he does Blue Steel? You want that, except with products instead of fish face. The basic concept is that the middle of your face—forehead, bridge of nose, cheekbones, under eyes, etc—should be lighter because it'll make your face look more angular and bright. Then you use a darker product to create faux shadows along your hairline, jawline, beneath cheekbones, and along the sides of your nose. That way you always look like you just stepped out from under an old Parisian streetlamp in Les Miz and are about to sing an off-off-off-Broadway version of that song Joey covered for the talent show in Dawson's Creek.
2. Technique makes a huge difference
The subtle contouring method goes something like this: Get two foundations shades, one a shade lighter than your skin tone and one a shade deeper. Dot the lighter shade across the middle of your face, then dab the deeper one around that as a kind of “frame' and add subtle stripes of it down the sides of your nose and in the hollows of your cheeks. Then use a big, fluffy foundation brush to blend it all out. This works for any foundation formula, although if you're using an especially thick cream you might want to grab a sponge instead of a brush.
There's also a more dramatic version, which usually includes either shadow or a full-on contouring kit. You apply your normal base, then stripe white shimmer shadow or highlighter on the areas you'd normally put the lighter foundation, and line the deeper foundation areas with your dark shadow or bronzer. Then you blend it out— very carefully.
3. Don't combine different product textures
Pick a single bronzer/highlighter/foundation texture and stick to it. In general, powders are easiest to blend, creams are highest coverage, and liquids have the best staying power. They're all solid choices, but when you layer them together, the combination usually cakes up—which only works if you're going for an 80s business lady thing. This is a good rule of thumb even if you're not contouring, since the same thing happens with powder blush over cream concealer, for example.
4. Remember Your Shapes
It's hard to visualize how the stripes and lines I'm describing are supposed to look, so I like to use cheats to help me remember. Plus, we all have different face shapes, so if you straight up copy someone else's example it could make you look like a badger (just sayin').
Face-Framing 3s: Your deeper shade or bronzer gets brushed from forehead to jaw in a '3' that follows your hairline and dips in under your cheekbones.
Eye-Brightening Cs: Think of this as a 'c' shape inside the top half of the contouring '3' you just made. Take your light shade or highlighter and create a crescent that goes from the center of your brow bone (right above the middle of your iris) to the same point just beneath your eye socket.
Connect-Four Cheekbones: Take your light shade/highlighter and put a tiny dot on the tip of each finger, then pat your cheekbones from eye socket to cheek hollows so that you have four columns of dots, like a mini Connect Four board on your cheeks. Blend out and up towards your temples.
Under-cheek teardrops: Create a long, skinny tear shape in the hollows under your cheekbones, where you could draw a straight line down from the center of your eye to the “point', and the rounded part is right across from your ear canal.
5. Keep in mind that all this is subjective
General guidelines are great, but at the end of the day you're the person who decides when your face looks its best. So if you don't want your nose to look more narrow, don't put shadows down the sides! Simple as that. There's no one way to do it right, so as long as you keep the general idea of creating highlights and shadows in mind, you'll be just fine. It's only makeup, after all.
—Lacey Gattis
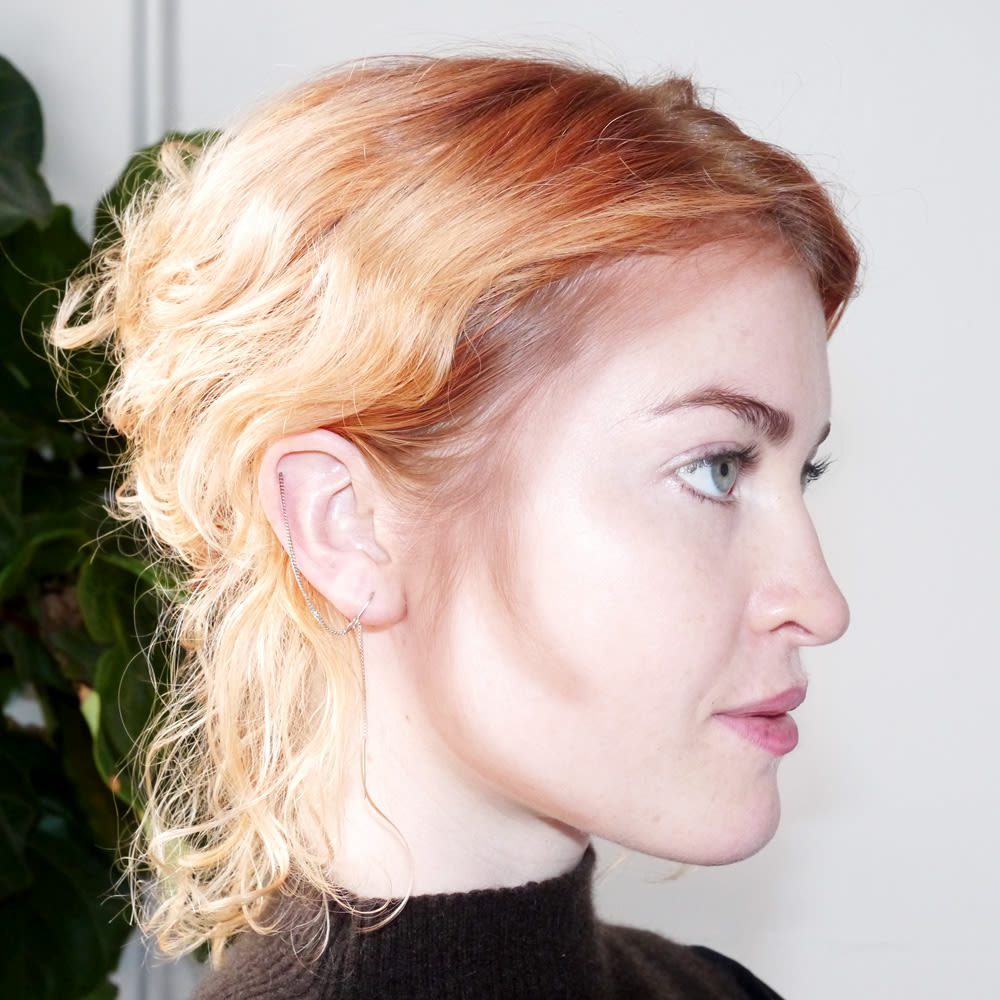
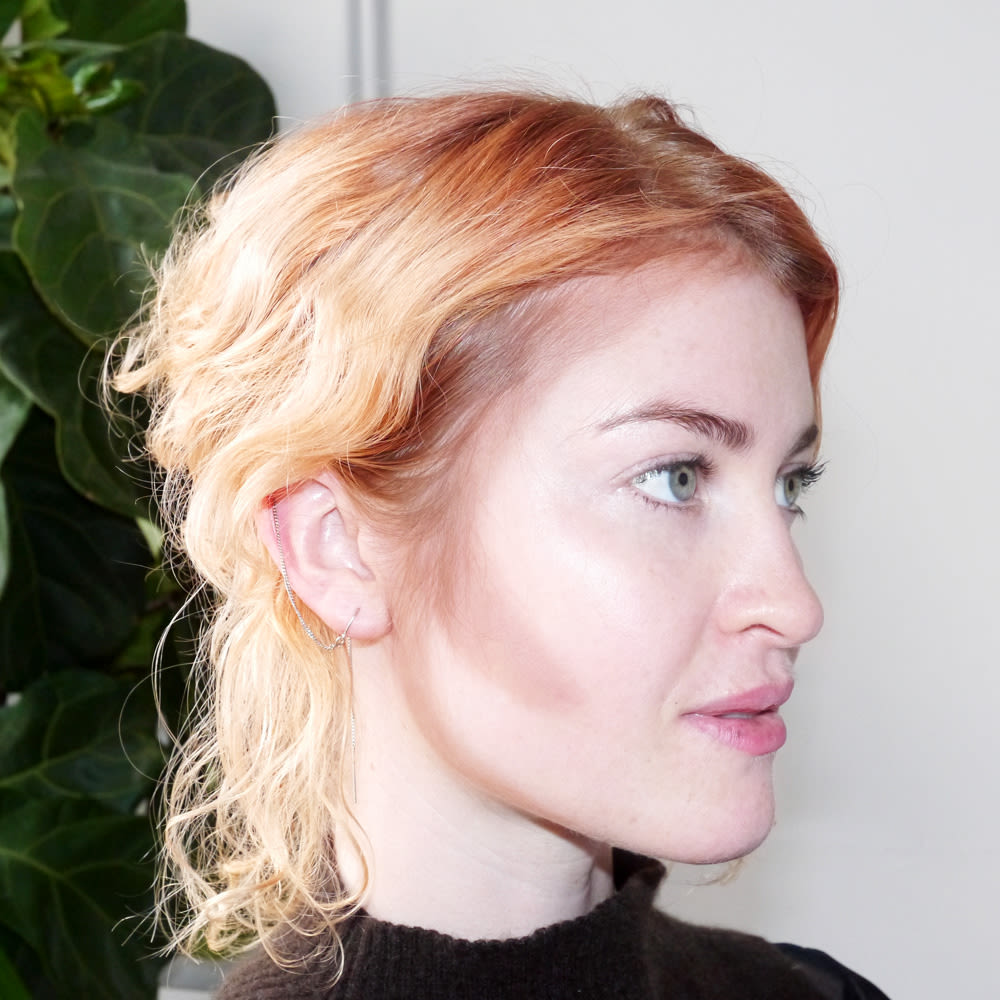
Photos by Annie Kreighbaum.
Kim Kardashian's makeup artist Mario Dedivanovic stopped by and worked his contouring magic on Shaughnessy Brown. For more makeup posts, click here.