
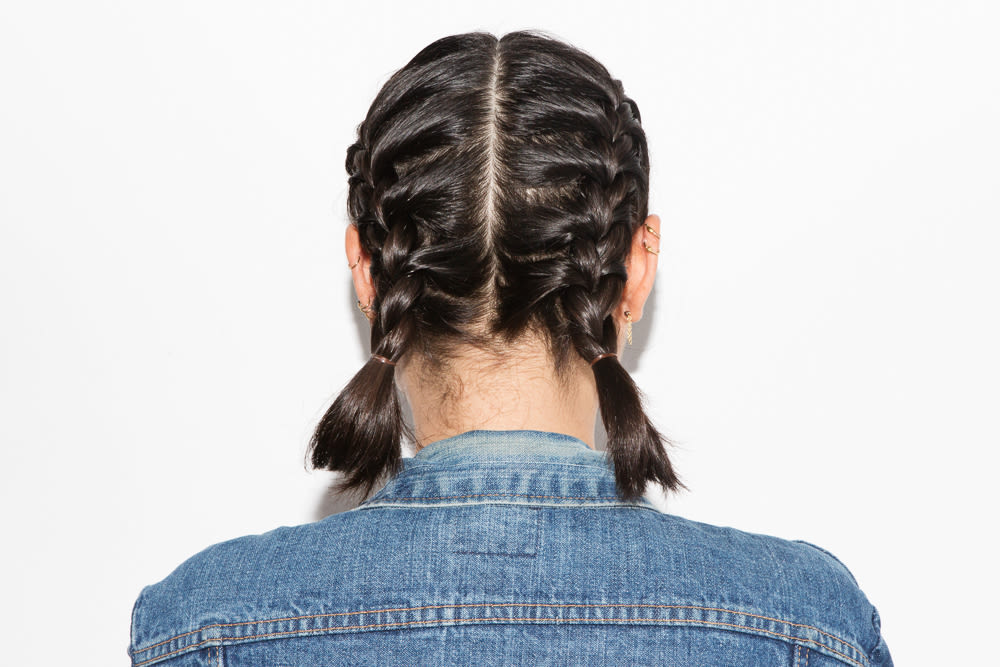


A recent trip to Ricky's confirmed something that, deep down, we all probably knew: buying a crimper these days is hard to do. Perhaps it's because crimped hair embodies everything wrong with the '80s, '90s, and early aughts. But if my experience wearing a wig had any positive upshot, it was the perfectly kinked, semi-frizzy curls I was left with the next morning, after unplaiting the French braids swirling around my head—a look, I decided, I'd have to recreate.
I know this effort will be met by a crowd as uneager to welcome Bead Magic or the Conair Quick Wrap back into their lives, (remember the infomercials?!), but crimped hair, done right, deserves a second chance. Just follow hairstylist Adlena Dignam’s advice and avoid crimping your entire head of hair completely from roots to ends, and instead use crimps to add casual texture randomly through the lengths.
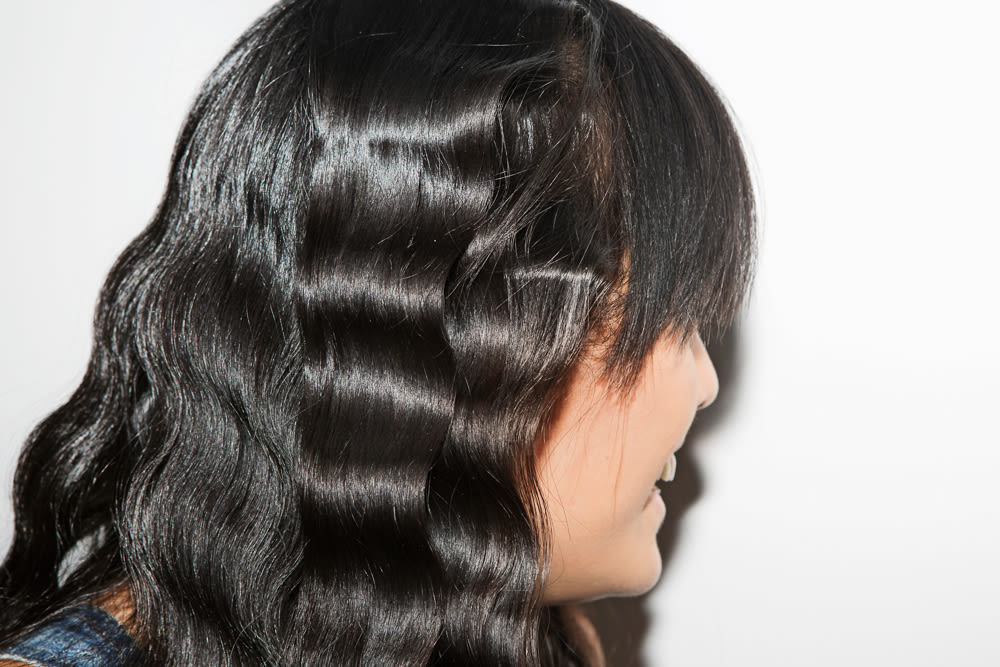
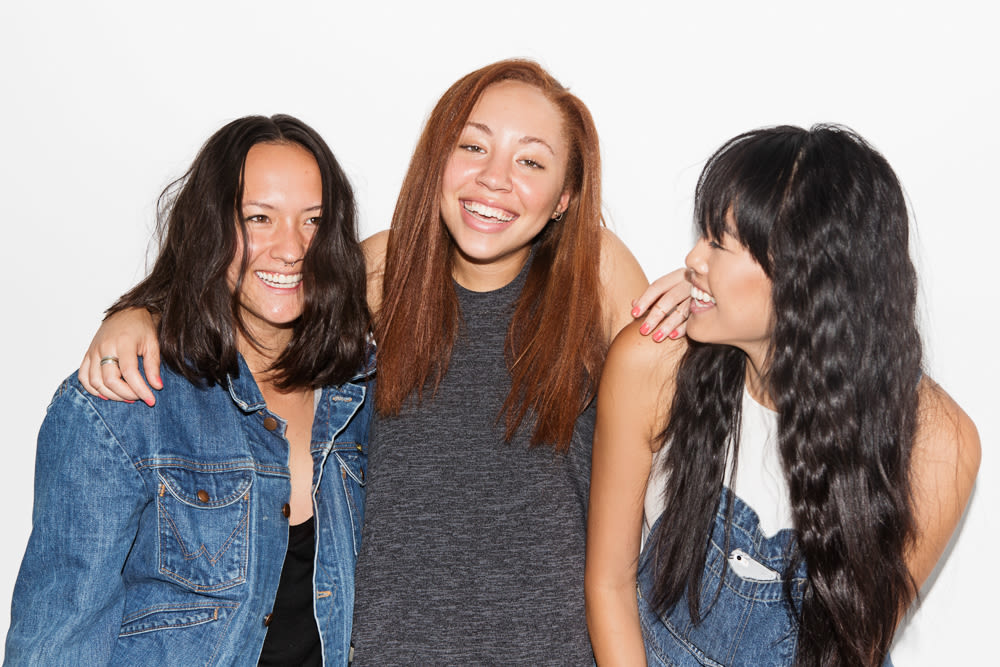
**On Rebecca:
**To recreate, you’ll need Revlon Perfect Heat Ceramic 3-Barrel Jumbo Waver. Then drench your hair in a foundation spray. Adlena recommends Bed Head TIGI Superstar Queen for a Day Thickening Spray. Brush and blast dry, which creates texture and grip that will hold the crimp. Divide the hair into sections, start with the bottom ones, and begin crimping at the roots. You’ll know you’ve applied enough heat when the hair is too hot to touch. Re-crimp over the last kink to join the sections. Leave the ends untouched for a beach-y, 13-year-old-Olsen-Twin vibe. Then, when the entire head is finished, break it up with your hands.
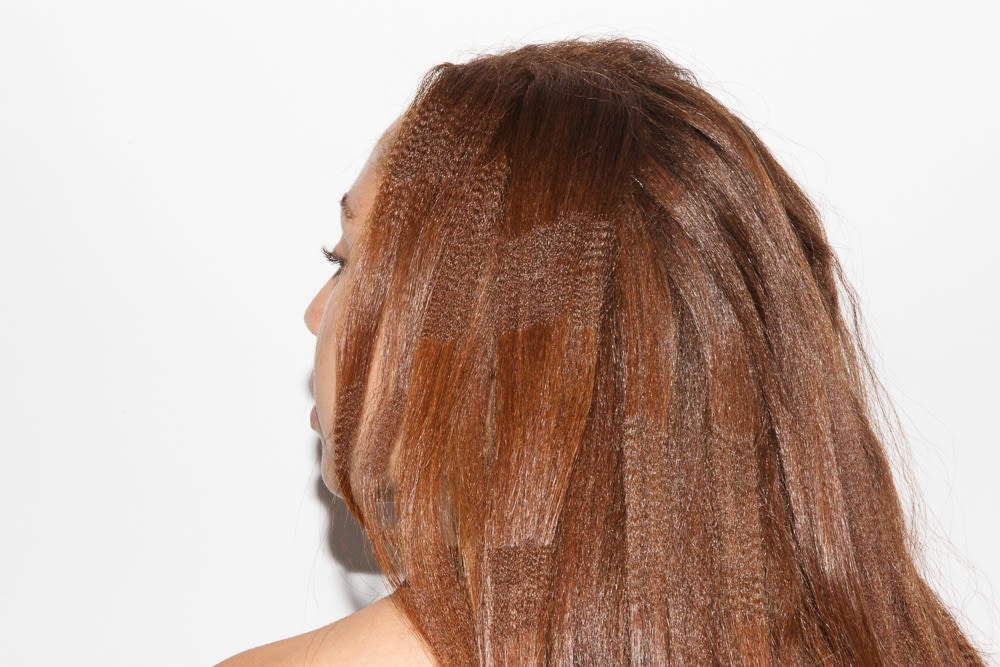
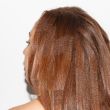
**On Kim:
**Use the Babyliss Pro 1” Crimper sparingly unless vintage Tyra Banks is serving as your style inspiration. Kim’s hair already has a nice texture so Adlena begins crimping immediately. Otherwise, follow Rebecca’s prep phase: coat in foundation spray then blow dry. For this look, Adlena advises making it as organic as possible and leaving some sections untouched. She sections the hair in a “brick pattern,” (think of how, when stacked, the bricks don’t line up with one another) which helps keep it non-uniform. Another good way to utilize the oft hated-on hot tool is to use the crimp for added volume on the bottom sections of hair, only at the roots.
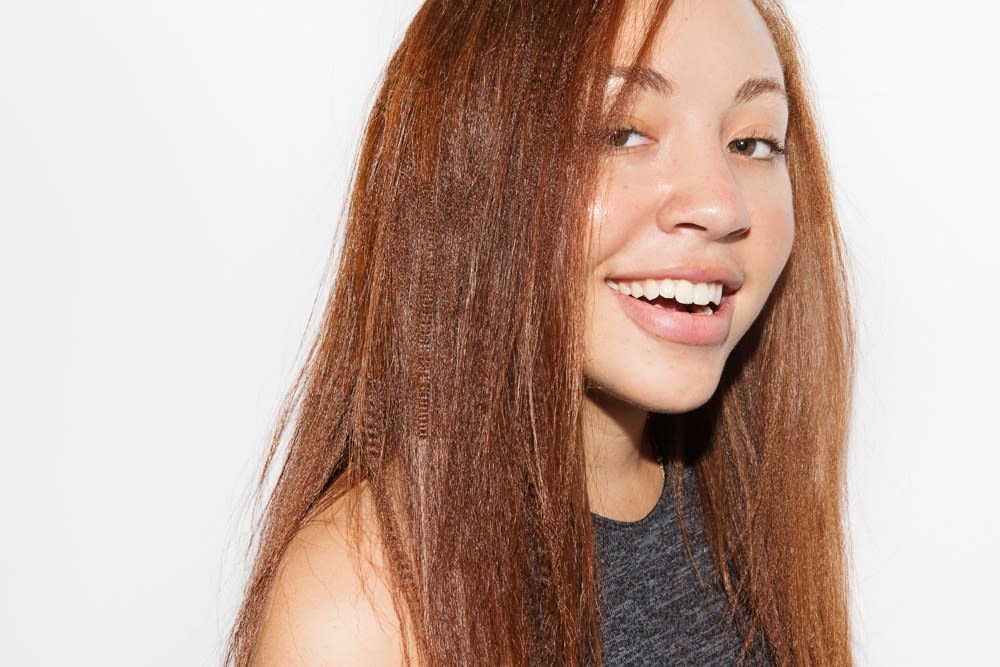
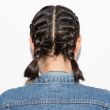
**On me:
**If you hate hot tools, this is your best option. Though it requires dexterity—or, a best friend, roommate, or significant other willing to French braid. Begin with wet hair and use a holding hair product, Bb. Texture Hair (Un) Dressing Crème for example. If DIYing, clean, divided sections (i.e. parted down the middle then one side tied off) will help you see what you’re doing. Be aware that the width of the sections will determine the kink. Adlena says one inch is a good rule of thumb. Also, try to make the braids as tight as possible. Should you have shoulder length hair, stop braiding at the nape. For long hair, leave 1-3 inches at the bottom untouched. Then blast with heat, sleep on a satin pillowcase, and rise to hair you can unironically tell people simply woke up with.
When the three of us posed for a photo, Tom exhaled, “ the babysitters club!” Which is really all I ever wanted in life anyway.
—Alexis Cheung
Photos by Tom Newton.